Crochet reindeer amigurumi can range from tiny tree ornaments to fuller dolls made for shelf displays, holiday baskets, or handmade gift sets. The projects in this list are not all the same shape with different colors. Some focus on a red nose and Christmas character, while others lean into a softer woodland deer look, a mini no-sew format, or a sitting pose.
This collection is meant to help readers compare the finished result before choosing a tutorial. Notice the size, antler shape, facial detail, sewing needs, and whether the reindeer is mainly for hanging, sitting, gifting, or display. Each idea links back to the original YouTube creator for the exact construction details.
Quick List
- Crochet Red-Nosed Christmas Reindeer Doll
- Crochet Rounded Holiday Reindeer Amigurumi
- Crochet Classic Brown Reindeer Doll
- Crochet Festive Reindeer Gift Doll
- Crochet No-Sew Mini Plush Reindeer
- Crochet Tiny Baby Reindeer Amigurumi
- Crochet Soft Plush Reindeer Display Toy
- Crochet Reindeer Ornament Amigurumi
- Crochet Sitting Reindeer Amigurumi
- Crochet Subtitled Classic Reindeer Doll
What to Compare Before Choosing a Reindeer Amigurumi
The biggest choice is not just color. Reindeer amigurumi projects differ most in size, pose, finishing, and how the antlers are handled. A tiny ornament-style reindeer needs compact features that still read clearly from a distance, while a larger shelf doll can carry more visible details around the muzzle, nose, scarf, ears, or legs.
It also helps to notice how much sewing or assembly the project appears to include. Some designs are described as no-sew or low-sew, while others rely on separate pieces for the antlers, limbs, ears, and muzzle. For gift projects, check whether the source confirms finished size, eye type, and material list. For display pieces, focus on balance, sitting position, and whether the final reindeer will stand, sit, or hang.
1 . Crochet Red-Nosed Christmas Reindeer Doll
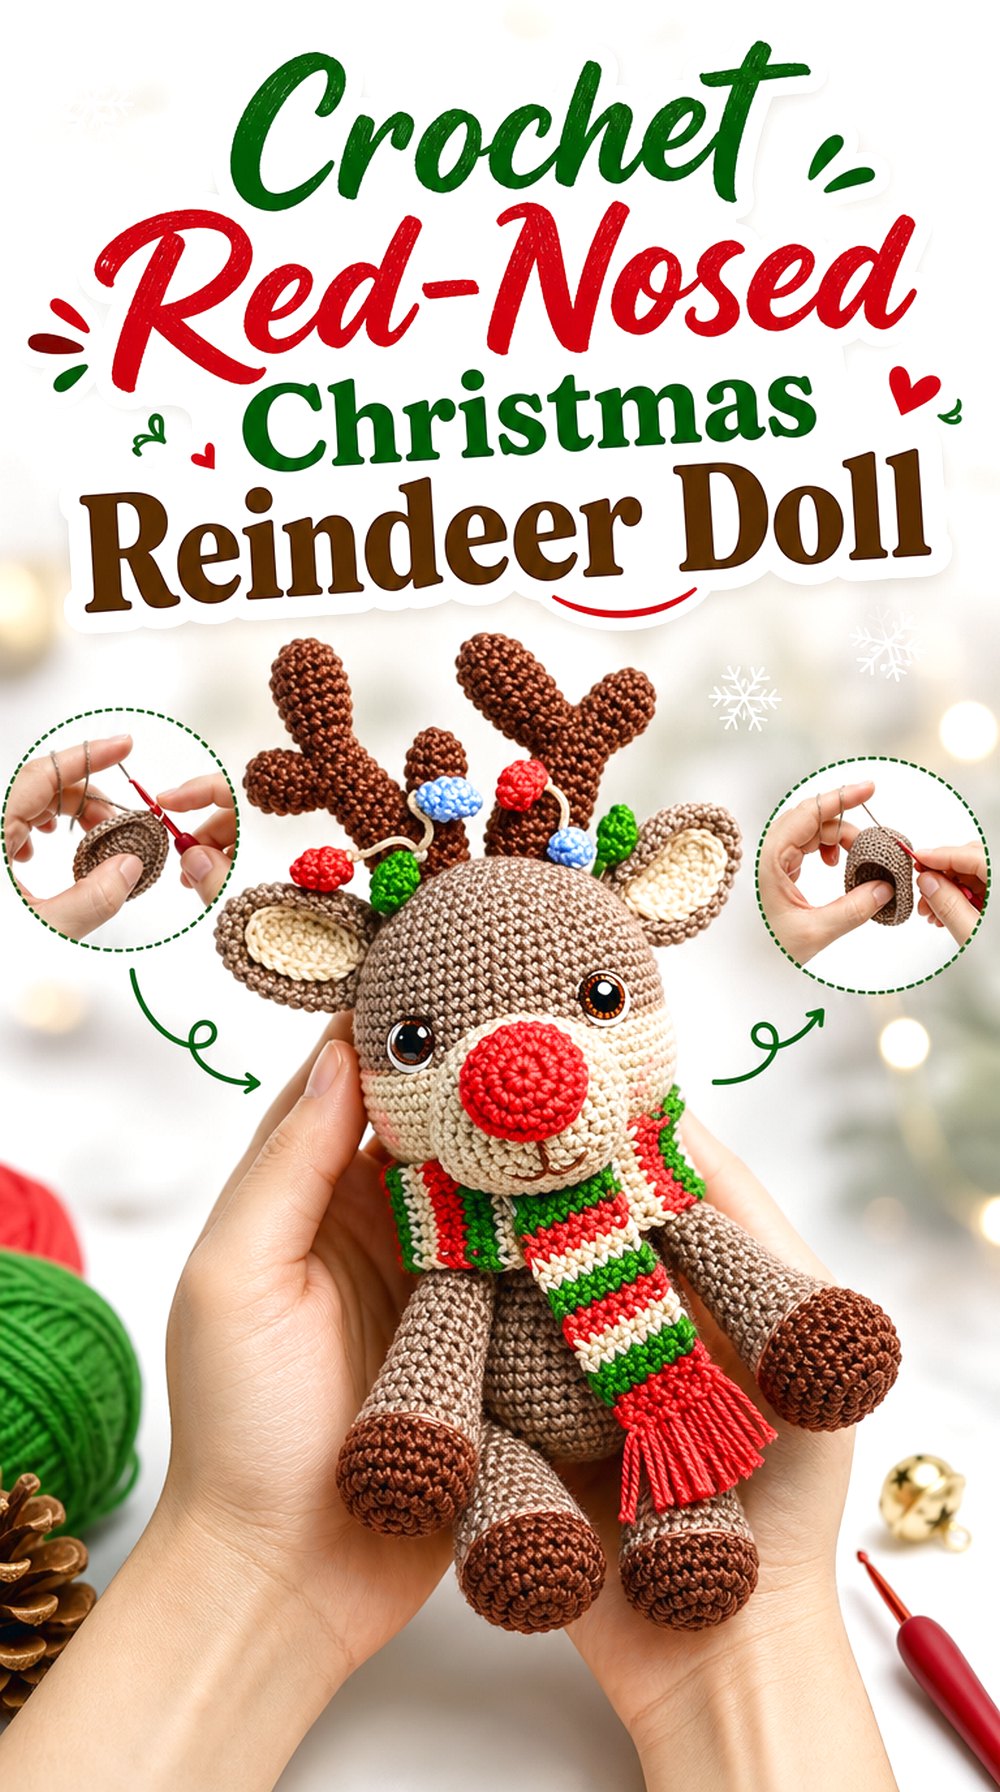
This crochet reindeer has a clear holiday look, with a red-nosed face, visible antlers, and a full doll shape suited to seasonal decorating. The finished project is described by the creator as a Christmas reindeer, and the source notes a finished height of 21 cm, which makes it more of a display doll than a tiny ornament.
The colorful details help it stand apart from smaller mini reindeer in this list. Readers looking for a more character-style holiday piece may appreciate the fuller body, defined face, and festive accessory look.
The Red Nose Sets the Character
A red nose immediately pushes this project toward a Christmas reindeer style rather than a neutral woodland deer. That matters if the finished toy will sit with Santa figures, stockings, or other holiday decorations. Readers who prefer year-round woodland decor may want to decide whether to keep the red nose or follow the source exactly for the seasonal version.
Finished Size Matters for Display
The creator states that the finished reindeer is 21 cm tall, which is useful information before choosing a place for it. A doll at that scale can work well on a shelf, mantel, desk, or holiday table, but it may be too large for a small tree branch. Readers should compare that height with their intended display area before buying supplies.
Antlers and Accessories Need Patience
The antlers and added holiday details are part of what make this reindeer feel finished. They also create more points where shape, placement, and balance matter. Before starting, it is worth reviewing the whole guide once so the antlers, ears, face, and any decorative additions make sense as one finished character rather than separate pieces.
Creator: Amis Tejiendo Momentos
2 . Crochet Rounded Holiday Reindeer Amigurumi
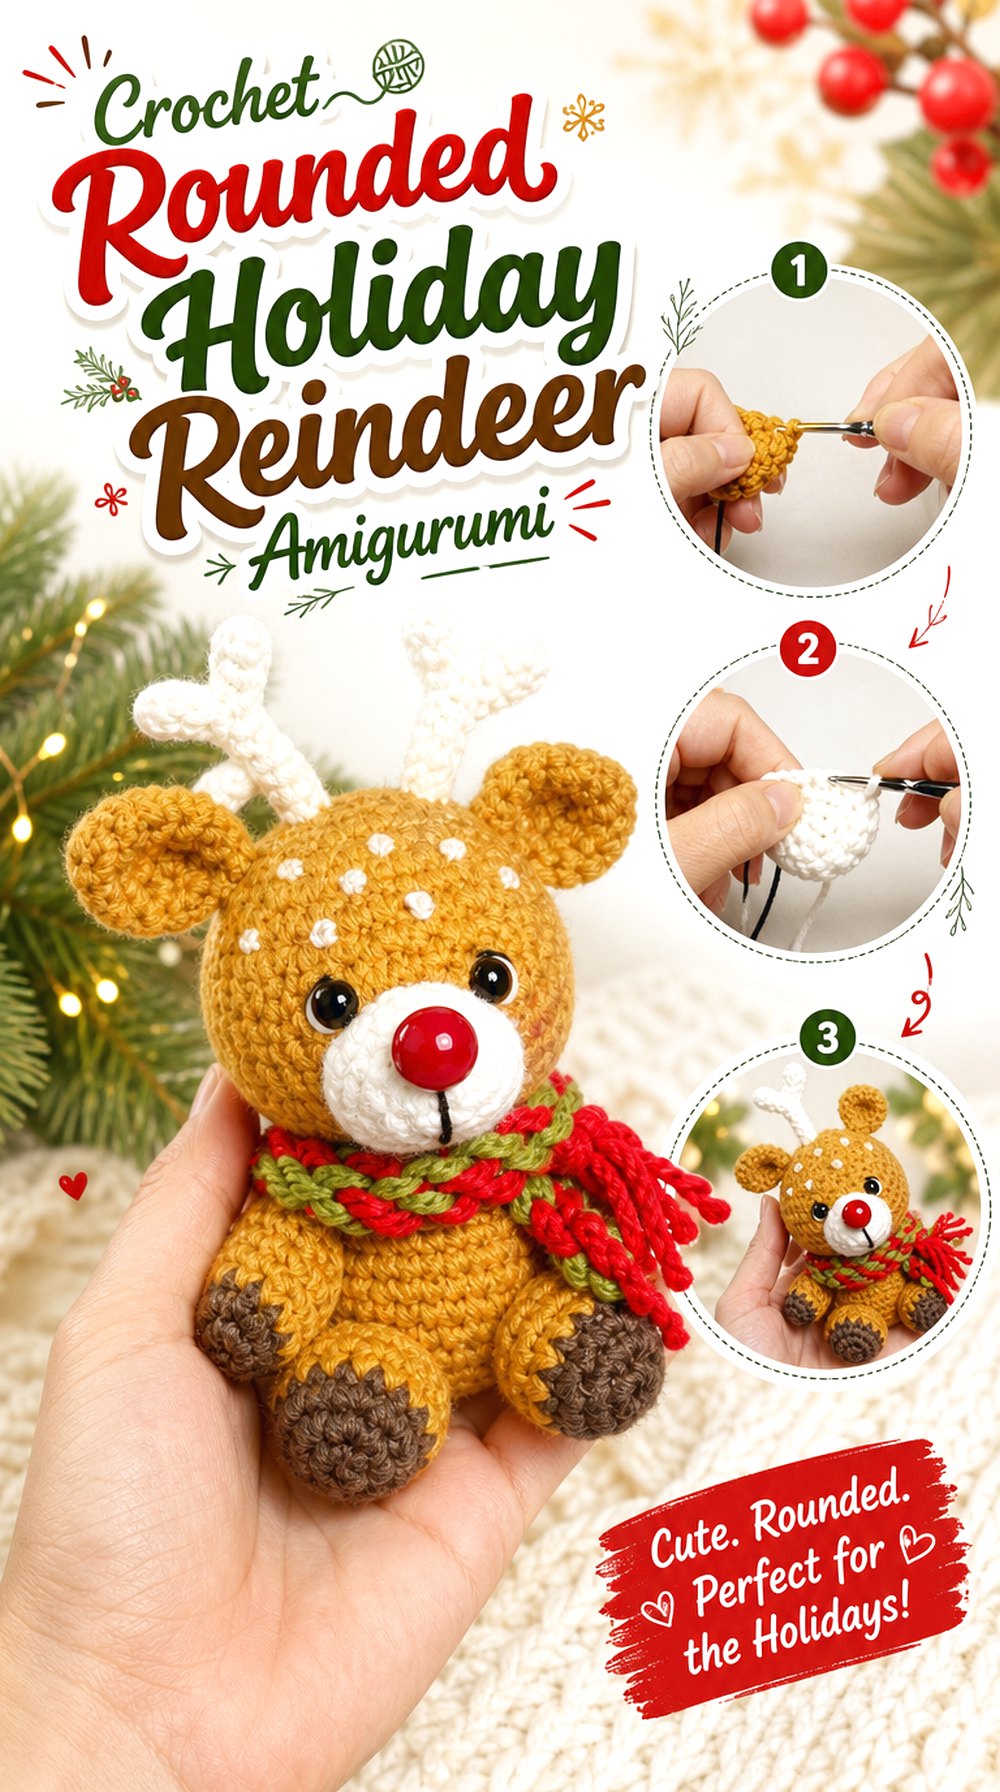
A compact rounded body gives this crochet reindeer a soft holiday-toy appearance. The project is presented as a reindeer made with the amigurumi technique, so it fits readers who want a recognizable animal form without choosing a very large plush or a flat ornament.
This option feels useful for a small Christmas arrangement, a handmade gift basket, or a simple shelf display. Its main appeal is the balanced reindeer shape: antlers, ears, muzzle, and body all need to work together so the finished piece reads clearly as a reindeer.
A Simple Upright Shape for Display
The upright amigurumi format makes this project easier to imagine on a tabletop or shelf than a hanging-only ornament. Readers should still check the finished shape in the source before choosing it for a specific spot. A rounded toy can look sweet in a group display, but it may need a flat enough base or careful placement to sit neatly.
Facial Placement Carries the Look
For reindeer amigurumi, the face does a lot of the work. The eyes, muzzle, nose, ears, and antlers need to sit in a clear relationship so the animal expression does not feel crowded. This is a good project to preview carefully before attaching any facial details, especially if substituting embroidered features for safety eyes.
Match Supplies to the Source
The project title and description identify it as an amigurumi reindeer tutorial, but readers should still use the original material list before buying yarn or eyes. Even small changes in yarn thickness can change the final scale and the way the antlers sit. For a coordinated set, note the yarn type and hook information from the creator first.
Creator: Magic Uncinetto
3 . Crochet Classic Brown Reindeer Doll
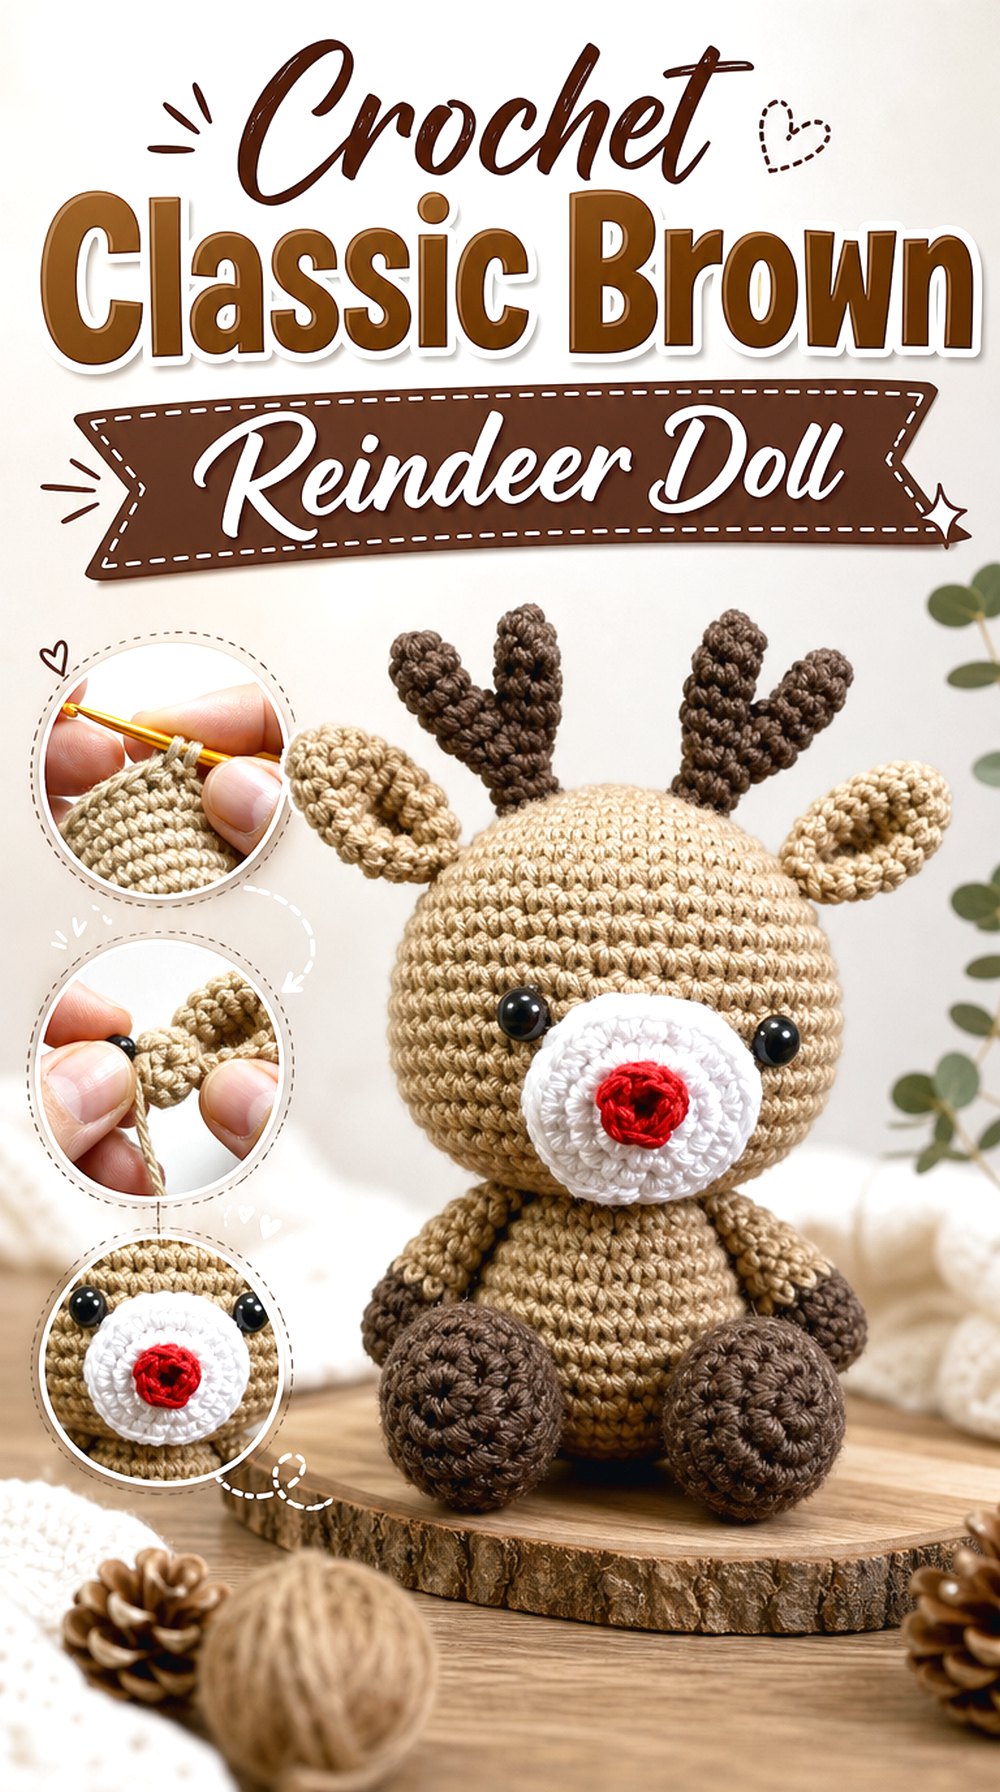
This crochet reindeer has a classic amigurumi doll feel, with a brown body, antlers, and a friendly holiday-animal shape. It is a strong choice for readers who want a straightforward reindeer figure rather than a special ornament, lovey, or oversized plush.
The project works well as a general Christmas amigurumi idea because the finished form can be styled with other seasonal pieces without needing a complicated setting. Compared with the mini designs, this one gives more room for visible limbs, muzzle shaping, ears, and antlers.
The Rounded Body Gives a Soft Toy Shape
A rounded amigurumi body makes the reindeer feel like a complete toy-style figure. That shape is useful for gifting or display because the animal can hold more visual detail than a flat applique or tiny ornament. Readers should check how the body sits at the end, especially if they want it to stay upright on a shelf.
Antler Balance Changes the Face
The antlers are one of the main features separating a reindeer from a plain deer. Their size and placement can make the finished piece look neat, playful, or top-heavy. It is worth paying close attention to how the creator positions them, because even small placement changes can affect the final expression.
Use the Original Count Details
This project should be followed from the original tutorial for all exact counts and shaping. A list post can help readers choose the design, but it should not replace the pattern. Keeping the source open while working is especially important for the face, ears, limbs, and antlers, where small details build the final reindeer shape.
Creator: Odinka Wisanindhi
4 . Crochet Festive Reindeer Gift Doll
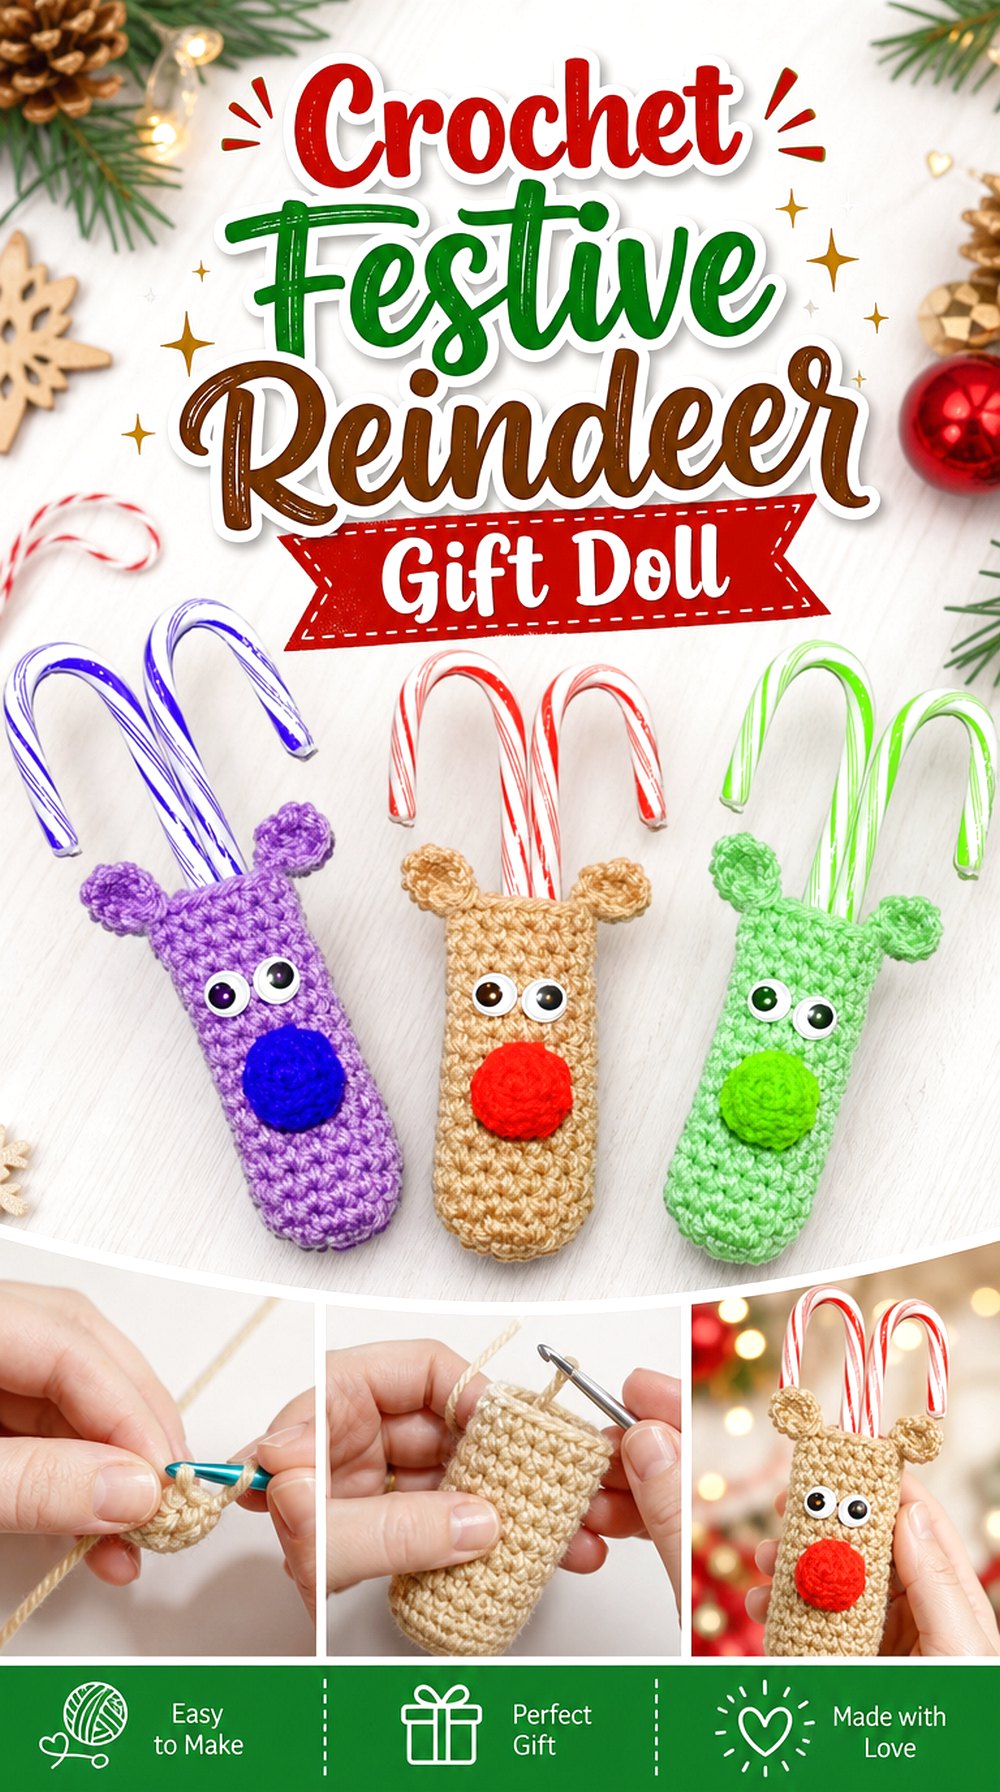
This festive crochet reindeer is positioned as a holiday decoration or gift project. It has the familiar reindeer features readers expect for Christmas amigurumi: a soft stuffed body, antlers, ears, and a face that can be styled toward a cheerful seasonal look.
Compared with the fuller display doll and the tiny ornament choices, this one sits in the middle. It may suit readers who want a recognizable handmade reindeer without choosing an oversized plush or a very small keychain-style project.
A Festive Doll Without Extra Bulk
The design reads as a holiday doll rather than a large plush display piece. That makes it useful for smaller gift arrangements, shelf corners, or a handmade Christmas set. Readers should check the finished dimensions in the original source if they need it to fit inside a stocking, gift box, or small display basket.
Facial Embroidery and Nose Choices Matter
The nose and facial features are central to the finished personality of this reindeer. A red nose creates a more Christmas-specific look, while a darker or softer nose would feel more woodland-inspired. Readers should follow the creator’s instructions for placement and decide early whether they want attached features or embroidered details.
Written Support May Help
The source description points readers toward a crochet reindeer pattern as well as the video guide. That can be helpful for anyone who prefers to pause less often while working. Before beginning, readers may want to check what written support is available and keep the original video nearby for visual placement and finishing details.
Creator: Crochet Jewel
5 . Crochet No-Sew Mini Plush Reindeer
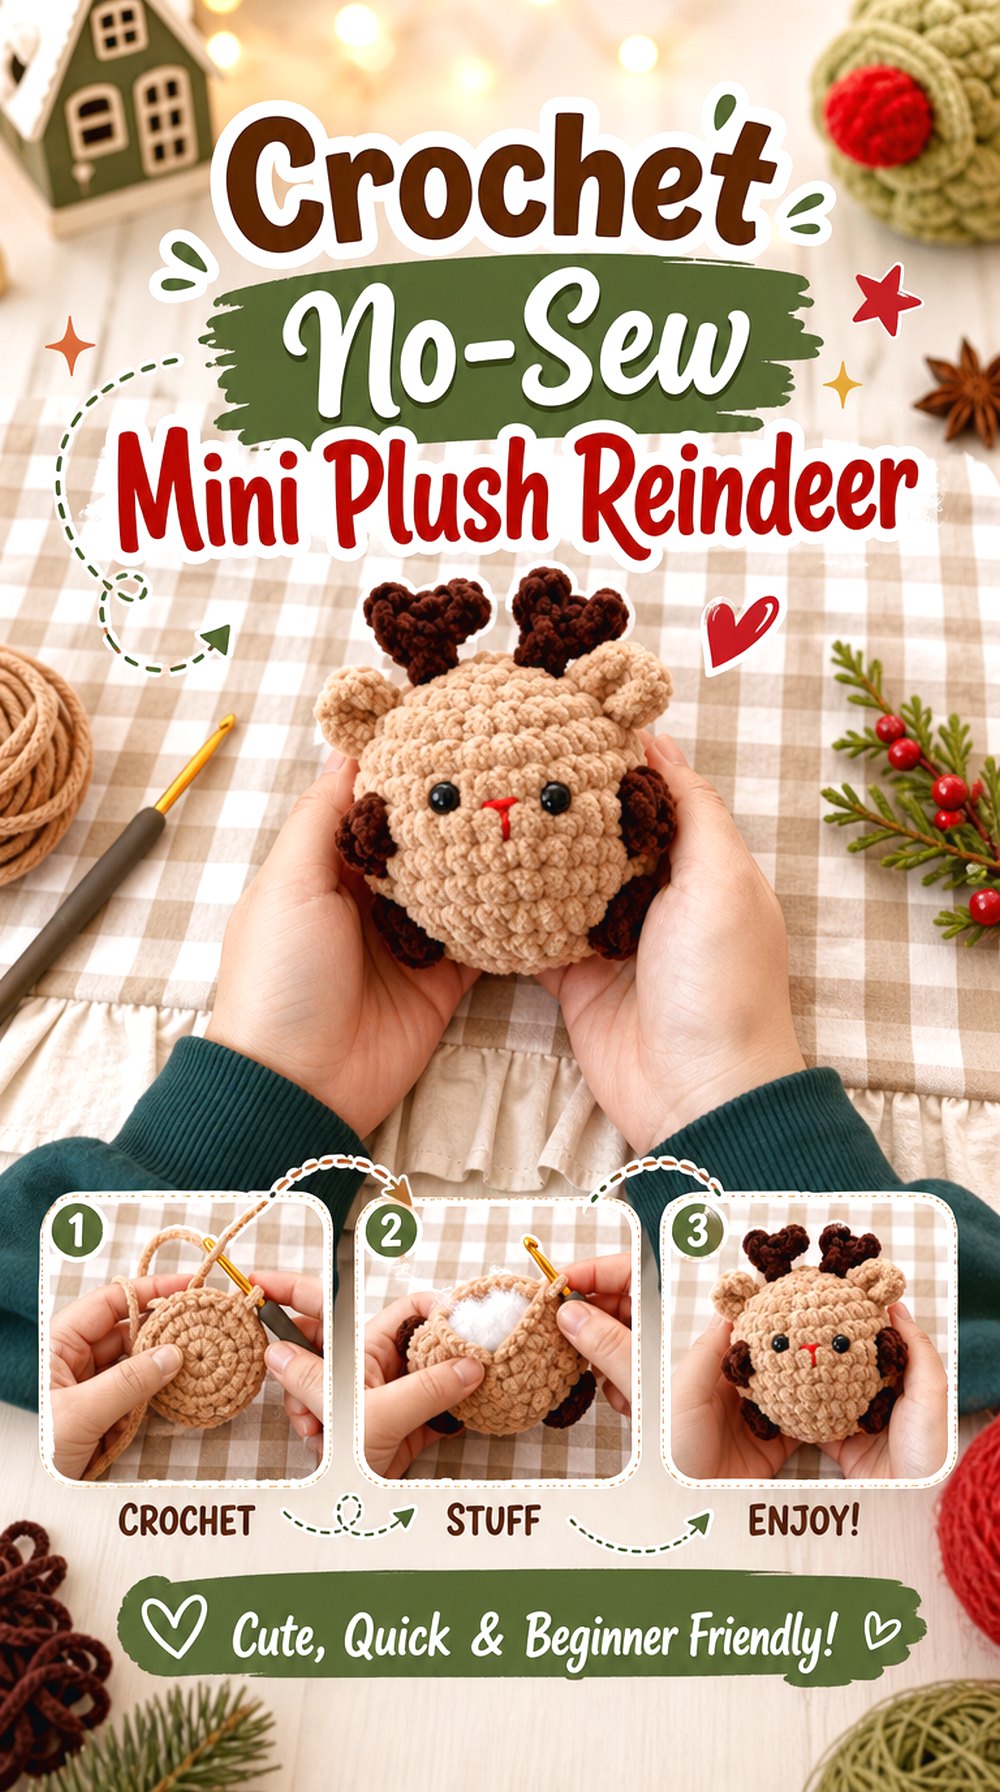
This mini reindeer is described as a no-sew amigurumi made with soft velvet yarn. That gives it a different appeal from the more traditional multi-piece reindeer dolls. The finished idea leans small, soft, and giftable, with the source suggesting uses such as a keychain, ornament, or desk buddy.
Because it is a mini project, the face and antlers need to stay clear without becoming oversized. Readers who dislike sewing small pieces may find this format especially worth comparing with the more assembled reindeer options.
The No-Sew Format Changes the Prep
A no-sew design can reduce the amount of final assembly, but it does not mean readers should rush the project. Placement still matters because small features become part of the overall shape as the reindeer forms. Before starting, review the tutorial’s order so the ears, antlers, face, and body details are not missed.
Velvet Yarn Creates a Plush Finish
The creator describes this reindeer as being made with velvet yarn, which gives the finished piece a soft, plush look. That yarn choice can make a mini animal feel fuller and squishier than a tighter cotton-style amigurumi. Readers should use the source material list rather than guessing substitutions, since yarn texture can change stitch visibility and scale.
Keychain, Ornament, or Desk Buddy
The source suggests several small-use possibilities, including keychain, ornament, and desk buddy. Those uses are not identical. A keychain may need attachment planning, an ornament needs a hanging point, and a desk buddy should sit neatly when placed down. Choose the final purpose first so finishing choices match the way the reindeer will be used.
Confirm Eye Placement Before Finishing
Small plush animals leave less room for correction once the face is set. Eye placement can change the whole expression, especially when the muzzle and antlers are close together. Readers making this for children should also verify whether the creator provides safety guidance and consider embroidered features if removable parts are a concern.
Creator: By Asalet Calışkan
6 . Crochet Tiny Baby Reindeer Amigurumi
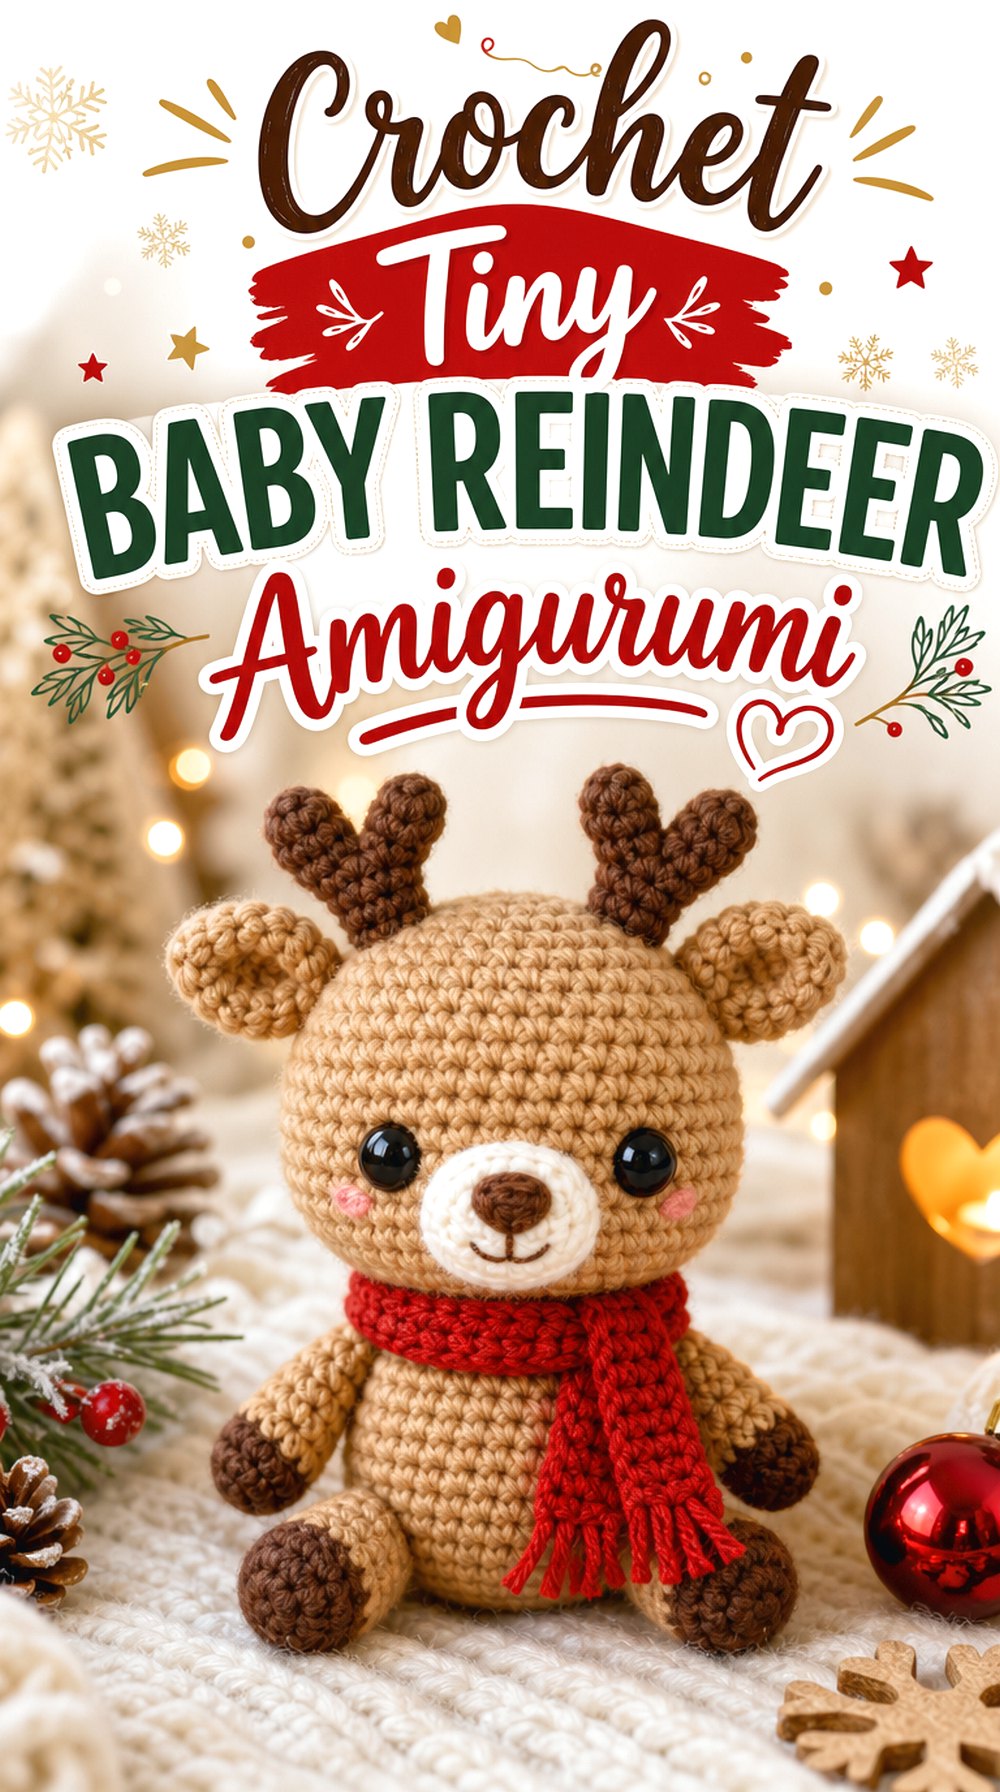
This tiny reindeer amigurumi is a smaller holiday project with a baby-animal feel. It is different from the large and classic doll shapes because the scale is the main feature: the finished reindeer is meant to look compact, cute, and light enough for small seasonal uses.
A mini project like this can work well in a group of Christmas amigurumi, on a small shelf, or as part of a handmade gift presentation. The tiny format also means readers should pay extra attention to proportion, because antlers, ears, and muzzle details can quickly overwhelm the body.
Small Scale Makes Details More Important
On a tiny reindeer, every visible feature carries more weight. The antlers need to be recognizable without making the head look too crowded, and the face should remain readable even at a small size. Readers should watch the final preview carefully before deciding whether this is the right scale for their holiday setup.
A Mini Reindeer Works Best as Light Decor
A small amigurumi reindeer may suit light decorating more than heavy handling. It can be placed with mini trees, ornaments, winter garlands, or small gift packages. The source should be checked for finished size and any hanging or keychain details before assuming how it will be displayed.
Visual Pace Is Worth Reviewing
This tutorial is presented as a step-by-step mini reindeer guide, and the description includes music credit. Readers who prefer spoken instruction, written patterns, or very slow explanations should preview the teaching format first. That quick check can prevent frustration, especially on small parts where clear viewing matters.
Creator: Bloomingmo
7 . Crochet Soft Plush Reindeer Display Toy
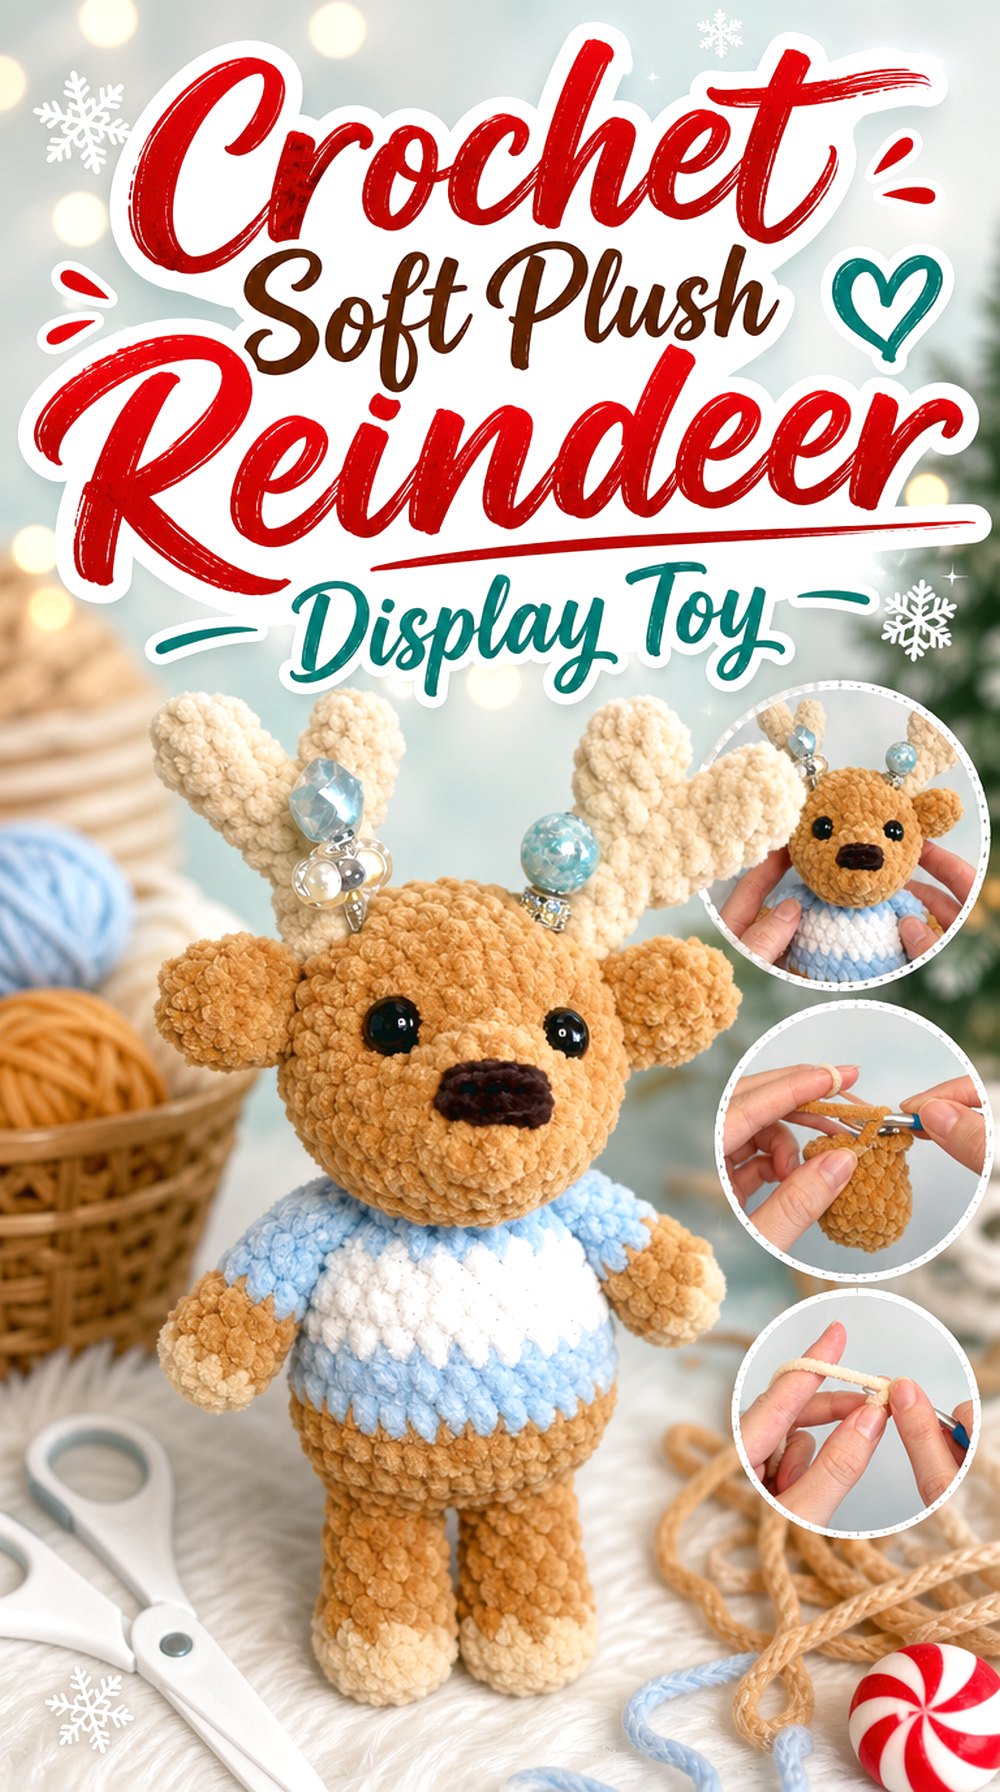
This soft-looking reindeer amigurumi has a plush toy direction, making it stand apart from the tighter classic crochet doll styles. The project is useful for readers who want a rounder, cuddlier holiday animal with a friendly face and a fuller stuffed look.
The design can work as a seasonal display toy, a handmade gift, or part of a cozy Christmas shelf arrangement. Because plush yarn can soften stitch definition, the main things to notice are face contrast, antler clarity, and whether the final shape stays readable from across a room.
Plush Yarn Gives a Rounded Look
Plush-style yarn can make a reindeer look soft and full, but it may hide some stitch definition. That means the final shape depends heavily on clear proportions and visible feature placement. Readers should check the creator’s supply information and avoid assuming that a thinner yarn will create the same finished effect.
Contrast Areas Help the Face Read Clearly
A reindeer face often includes several small areas close together: muzzle, eyes, nose, ears, and antlers. Contrast helps those details stay visible, especially on a soft plush body. Before choosing colors, readers should look at the finished result and decide whether they want a strong holiday face or a gentler natural deer look.
Best for a Soft Display Piece
This option is better suited to readers looking for a plush-looking amigurumi than a tiny ornament. It may take more space than a mini reindeer, but it gives a fuller handmade presence. For gifting, check whether the original source gives any details about eye type, finished size, and assembly before making it for a specific recipient.
Creator: Wonder Crochet
8 . Crochet Reindeer Ornament Amigurumi
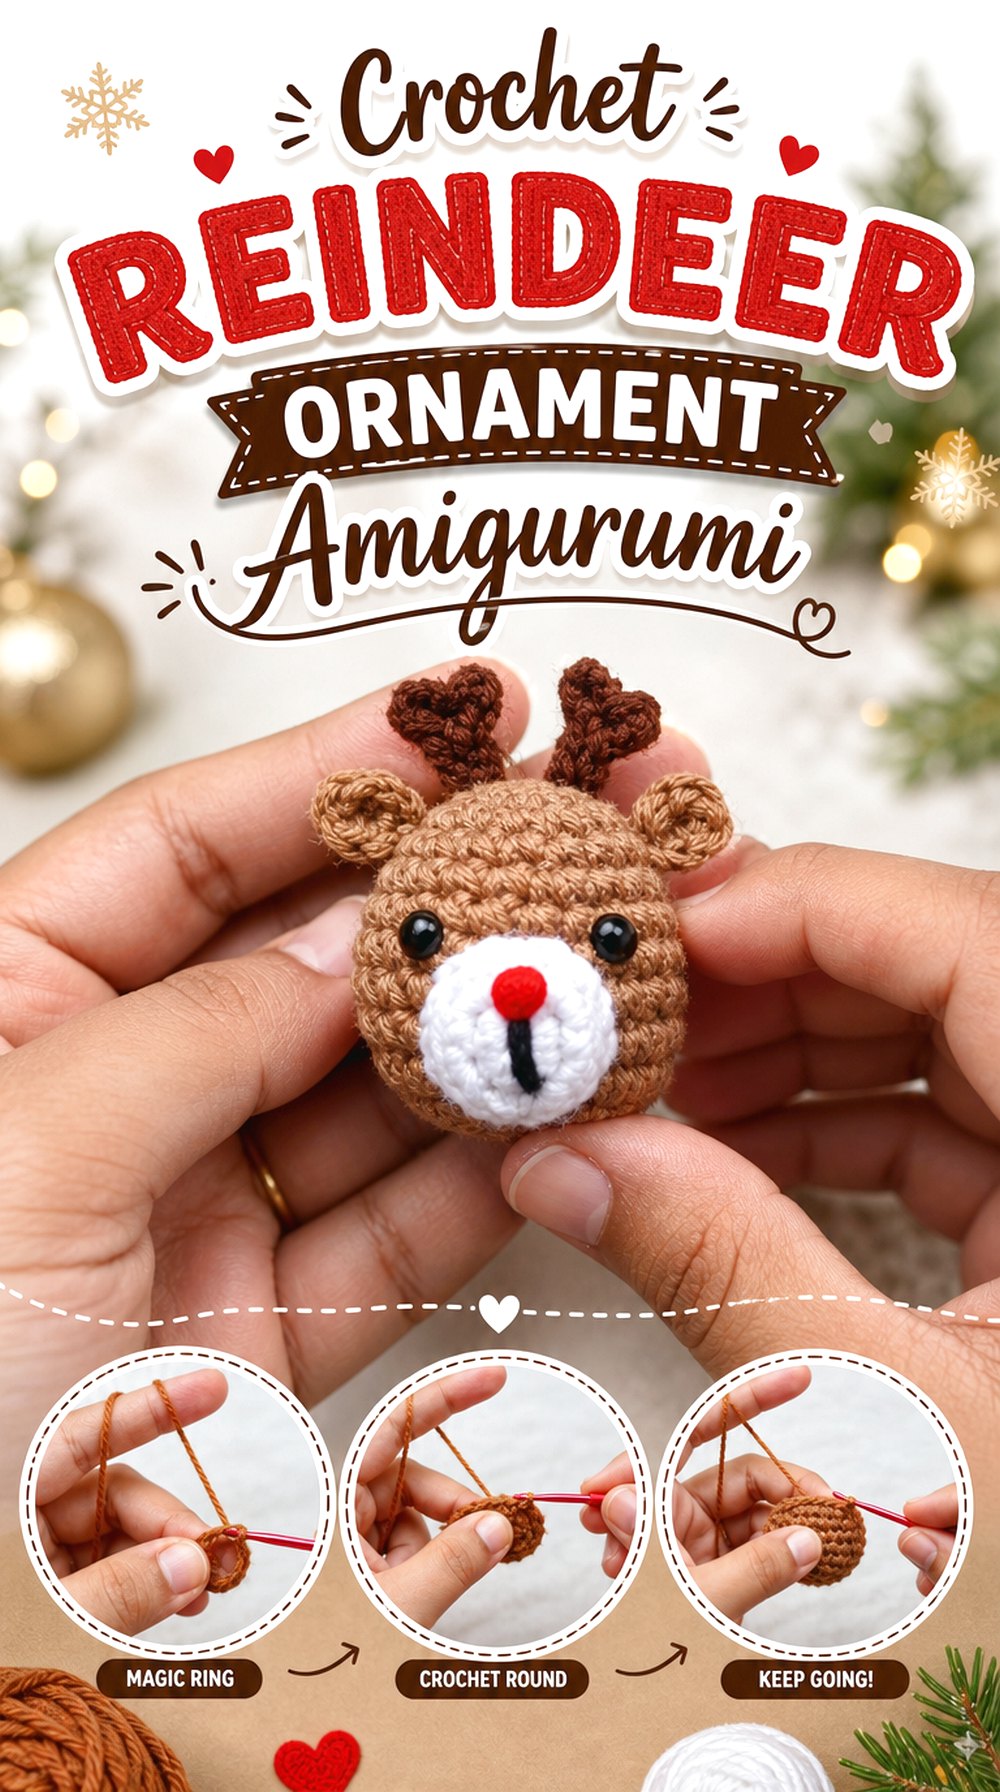
This crochet reindeer is designed around an ornament-style result, which makes it different from the standing and sitting dolls in the list. The small hanging format suits Christmas trees, garlands, gift toppers, or a group of handmade ornaments.
An ornament reindeer needs a clear head shape, compact antlers, and secure-looking proportions so it does not feel too bulky for hanging. Readers who want a smaller project with a direct decorating purpose may prefer this over a full-body shelf doll.
The Hanging Format Changes the Use
An ornament has different needs than a sitting amigurumi. It should look clear from the front, hang neatly, and not feel too large for the tree or garland where it will be placed. Readers should check whether the source shows the hanging point and final orientation before choosing it for a specific display.
Keep the Ornament Proportions Compact
Antlers and ears can make a tiny ornament look wide very quickly. Compact proportions help the finished reindeer stay neat when hanging near other decorations. Before changing yarn thickness, readers should remember that a larger yarn may turn a small ornament into a much bulkier hanging piece.
Attachment Details Deserve a Careful Watch
For an ornament, the final loop or hanging attachment is part of the function. Readers should follow the creator’s finishing guidance instead of guessing where to place it. A reindeer that hangs forward, twists, or tilts may still be cute, but it may not display the face as clearly as intended.
Creator: Cute Crochet
9 . Crochet Sitting Reindeer Amigurumi
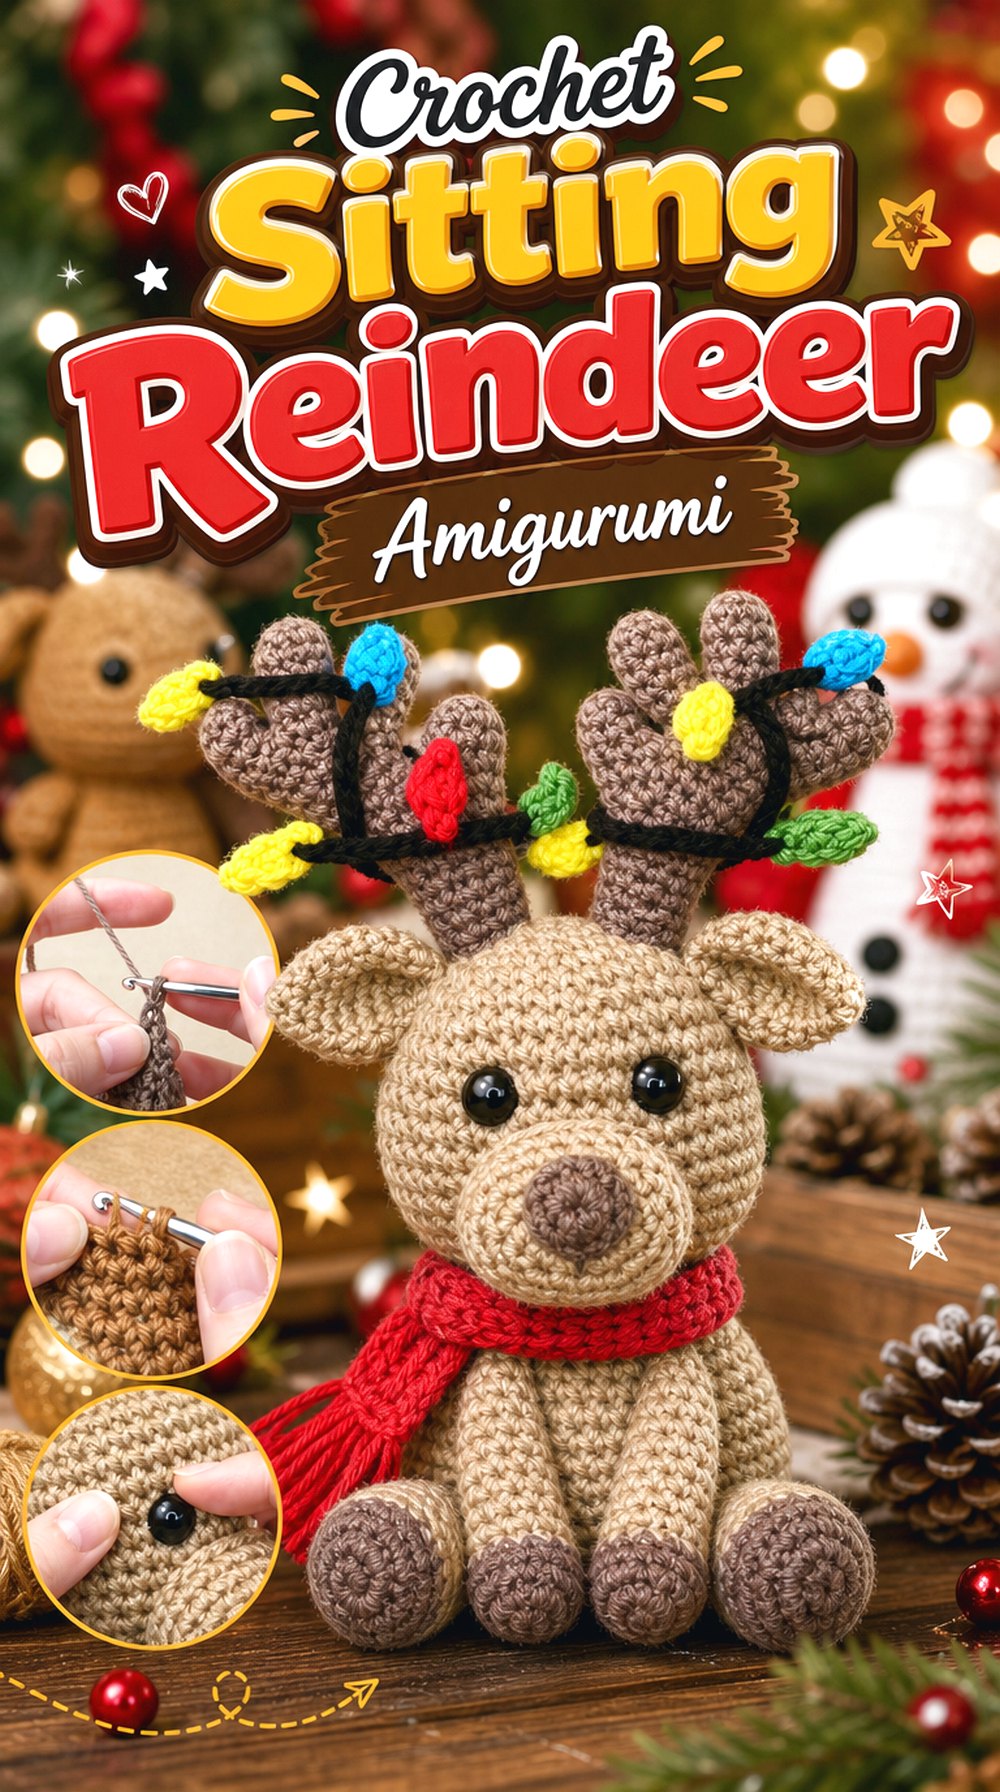
A sitting pose gives this crochet reindeer a different personality from the upright dolls and tiny ornaments. The source describes it as a deer sitting amigurumi and notes that the project is worked as a crochet-along with sewing shown in real time.
This makes it a useful option for readers who want a fuller amigurumi with visible assembly support. The final pose may work well on a mantel, shelf, side table, or under a small Christmas tree where the reindeer can sit as part of a holiday scene.
A Sitting Pose Needs Stable Balance
A sitting reindeer depends on balance more than a hanging ornament or a flat display piece. The legs, body, head, and antlers all affect how the finished animal rests. Readers should pay close attention to the final positioning and avoid rushing the stuffing or attachment stages if they want the reindeer to sit neatly.
Real-Time Crochet Along Suits Slower Following
The source result says the creator works every stitch and sews pieces on in real time. That format can be useful for readers who prefer not to jump between short edited clips. It may also be longer than a quick overview, so it is worth setting aside time and marking a stopping point while following along.
Sewing Stages Are Part of the Project
This is not the same kind of experience as a no-sew mini reindeer. The sewn-on pieces are part of the finished structure and expression, especially around the limbs, ears, antlers, and face. Readers who enjoy assembly may appreciate the control; readers who dislike sewing should compare it with the no-sew mini option earlier in the list.
Display Space Matters More Here
A sitting reindeer needs a surface, not just a branch or hanging loop. It may look best where the whole pose is visible from the front. Before starting, readers should think about whether they want it as a single statement piece, part of a Santa display, or one animal in a wider amigurumi Christmas scene.
Creator: Rhonda Butler
10 . Crochet Subtitled Classic Reindeer Doll
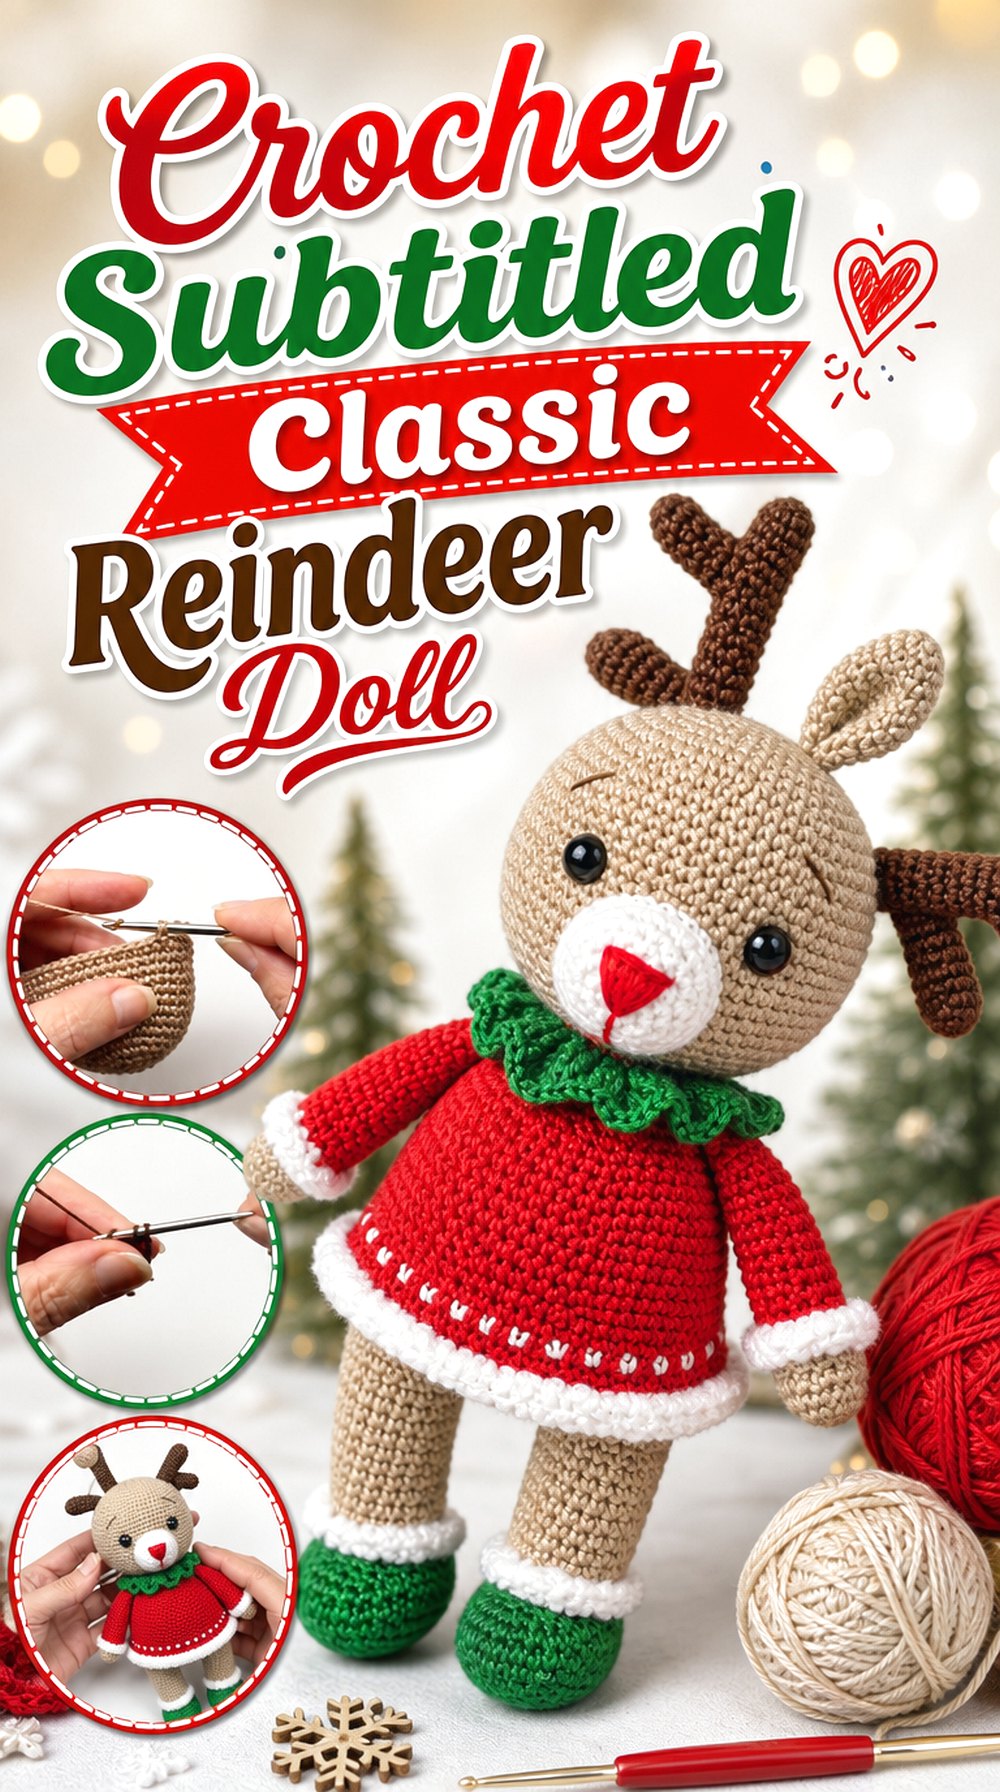
This classic crochet reindeer tutorial includes English subtitles, which makes it useful for readers who are comfortable following visual instruction with translated text. The finished idea appears to focus on a traditional reindeer doll shape rather than a tiny ornament or no-sew plush.
It is a good final choice for anyone who wants a recognizable holiday animal and does not mind carefully following subtitle-supported steps. The main reader decision is whether the teaching format fits their preferred way of learning.
English Subtitles Help Non-Greek Viewers
The video is identified as a crochet reindeer amigurumi tutorial with English subtitles. That can make the project accessible to viewers who do not speak the creator’s main language but can follow visual crochet demonstrations. Readers should still preview the format first to see whether the subtitle pace feels comfortable.
A Classic Shelf Reindeer Shape
This project belongs with the traditional amigurumi doll options rather than the ornament or mini keychain styles. A classic shape gives room for antlers, ears, face details, limbs, and body shaping. Readers planning a holiday shelf display may prefer this kind of full figure because it reads clearly beside trees, snowmen, Santas, or other seasonal toys.
Assembly Views Are Important
For any classic reindeer doll, the final assembly affects the whole expression. Antler placement, ear angle, muzzle position, and limb attachment can change the character quickly. Readers should use the original video for those exact details and avoid relying only on the finished image when placing pieces.
Creator: TRIANTAFILLIA PAPADOPOULOU
How to Choose Between Mini, Ornament, and Full Reindeer Shapes
Choose a mini reindeer when the goal is a small gift, desk accent, or lightweight holiday detail. The Bloomingmo and By Asalet Calışkan projects are the most compact choices in this list, with the no-sew plush version standing out for readers who want less assembly.
For tree decorating, the Cute Crochet ornament is the most direct fit because the hanging format is built into the project idea. For a mantel, shelf, or table display, the Amis Tejiendo Momentos, Odinka Wisanindhi, Magic Uncinetto, Crochet Jewel, Wonder Crochet, Rhonda Butler, and TRIANTAFILLIA PAPADOPOULOU options offer fuller reindeer shapes. The sitting version is best when surface placement matters, while the red-nosed Christmas doll works well when a stronger holiday character is wanted.
Conclusion
These crochet reindeer amigurumi ideas give readers several useful directions instead of one repeated style. The smallest projects suit ornaments, tiny gifts, or desk displays, while the fuller dolls work better for shelves, mantels, and Christmas arrangements. The sitting reindeer adds a different pose, and the no-sew plush mini is useful for readers who want fewer finishing seams.
Before choosing, compare the finished size, antler shape, face style, sewing needs, and whether the reindeer will hang, sit, or stand. Use the original YouTube tutorials for exact construction details, placement, and any material notes from the creators.
FAQs
Which crochet reindeer amigurumi should I choose first?
Start with the project that matches your intended use. For a small decoration, choose a mini or ornament-style reindeer. For a shelf or mantel, choose a fuller doll shape. If sewing small parts feels frustrating, compare the no-sew mini option before selecting a more assembled reindeer with separate limbs, ears, and antlers.
Are crochet reindeer amigurumi projects for display or play?
That depends on the tutorial, materials, and finishing choices. Many reindeer amigurumi projects are best treated as seasonal decor unless the creator clearly provides child-safety information. If the project uses safety eyes, small antlers, or attached pieces, readers should verify age suitability and consider embroidered features for young children.
What should I check before buying yarn?
Check the creator’s material list, hook size, eye size, and finished size notes where available. Reindeer amigurumi can change noticeably when yarn thickness changes, especially around the antlers and muzzle. Plush yarn may create a larger, softer toy, while thinner yarn may give more stitch definition but a smaller finished figure.
How do I choose between a mini and full-size crochet reindeer?
Choose a mini reindeer for ornaments, small gift toppers, keychain-style ideas, or compact displays. Choose a full-size reindeer when the face, antlers, limbs, and accessories are part of the appeal. Full dolls usually need more display space, while mini versions need careful attention to tiny proportions and facial placement.
Do crochet reindeer amigurumi need safety eyes?
Some tutorials use safety eyes, while others may allow embroidered features or different face details. Always check the original creator’s supply list before starting. For projects intended for babies or young children, do not assume safety eyes are appropriate; verify the source guidance and consider stitched facial details when safety is a concern.
Can I sell finished crochet reindeer made from YouTube tutorials?
Do not assume selling is allowed just because a tutorial is public. Check the creator’s pattern terms, video description, website policy, or linked written pattern before selling finished items. Some creators allow sales with credit, while others may restrict commercial use. Local labeling, safety, and business rules may also apply.