Crochet spider amigurumi can range from tiny hanging pieces to fuller plush decorations, so this collection focuses on variety rather than repeating the same round spider shape ten times. Some ideas are made for garlands, keychains, or small surfaces, while others have wider bodies, longer legs, decorative backs, or tarantula-style details.
Use this list to compare the finished look before choosing a tutorial. A compact spider may work better for party favors or seasonal shelf decor, while a larger plush spider needs more display room. The original YouTube tutorials linked below provide the exact construction details for each project.
Quick List
- Crochet No-Sew Hanging Spider Ornament
- Crochet Spider Garland Applique
- Crochet Mini Spider Keychain
- Crochet Long-Leg Spider Amigurumi
- Crochet Jelly Bean Spider Plush
- Crochet Low-Sew Chunky Spider Plush
- Crochet African Flower Halloween Spider
- Crochet Tarantula Amigurumi Decoration
- Crochet Spider With Web Detail
- Crochet Tiny Pipe-Cleaner Spider
Why These Crochet Spider Amigurumi Projects Are Worth Making
Crochet spider amigurumi works well for Halloween displays because the shape can be scaled in many ways. A small spider can sit on a tray, hang from a loop, attach to a bag, or become part of a garland. A fuller spider plush can stand alone on a shelf, join a seasonal basket, or pair with pumpkins, webs, bats, and other spooky crochet pieces.
The useful difference is not only size. Some spiders have rounded plush bodies, some have flatter decorative shapes, and others use long legs, extra eyes, back details, or motif-based surfaces. That gives readers more control over how cute, creepy, soft, or display-focused the finished spider should feel.
1 . Crochet No-Sew Hanging Spider Ornament
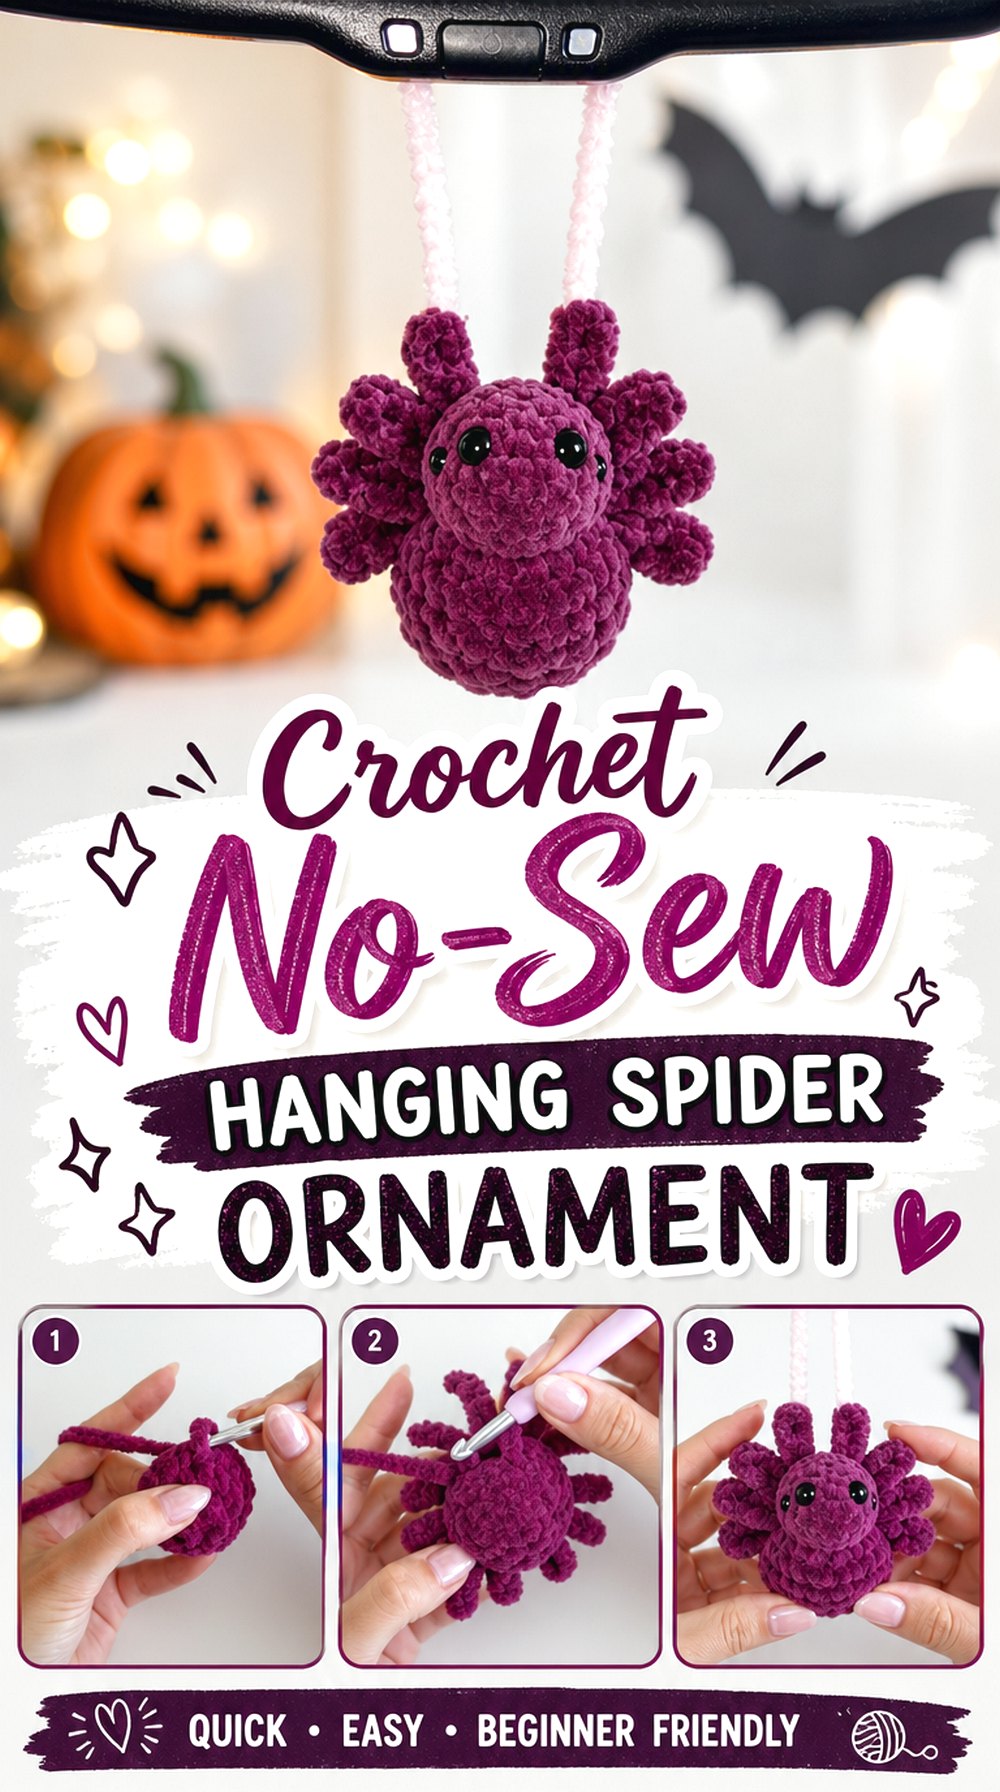
A hanging spider ornament is useful when the project needs to move beyond a flat shelf or tabletop. This design includes a small stuffed spider shape with a loop, so it can work for car decor, a desk hook, a Halloween branch display, or a simple seasonal wall accent. The compact form keeps it different from the larger plush spiders later in the list, and the no-sew format may appeal to readers who want fewer separate attachment points.
Decide Where It Will Hang
A hanging spider needs a clear destination before supplies are chosen. A car mirror, wall hook, Halloween tree, or cabinet knob may all need different loop lengths and different visual scale. Readers should check the original tutorial for how the loop is added, then decide whether the finished spider should hang freely, sit partly against a surface, or stay short and close to its anchor point.
Confirm the Loop Placement
The loop matters because it changes how the spider faces once it is suspended. A loop attached too far forward or too far back can make a stuffed piece tilt. This tutorial includes a hanging-loop section, so viewers should pay attention to that part instead of treating it as an optional afterthought. The finished balance is part of the final display.
Review the No-Sew Format
No-sew spider projects can still have important shaping moments. The legs, body, stuffing, and loop all need to be followed in the creator’s order so the spider keeps the intended compact shape. Readers who usually skip ahead may want to watch the full guide once first, then follow it slowly during the second pass to avoid missing a key transition.
Creator: crochetcalls
2 . Crochet Spider Garland Applique
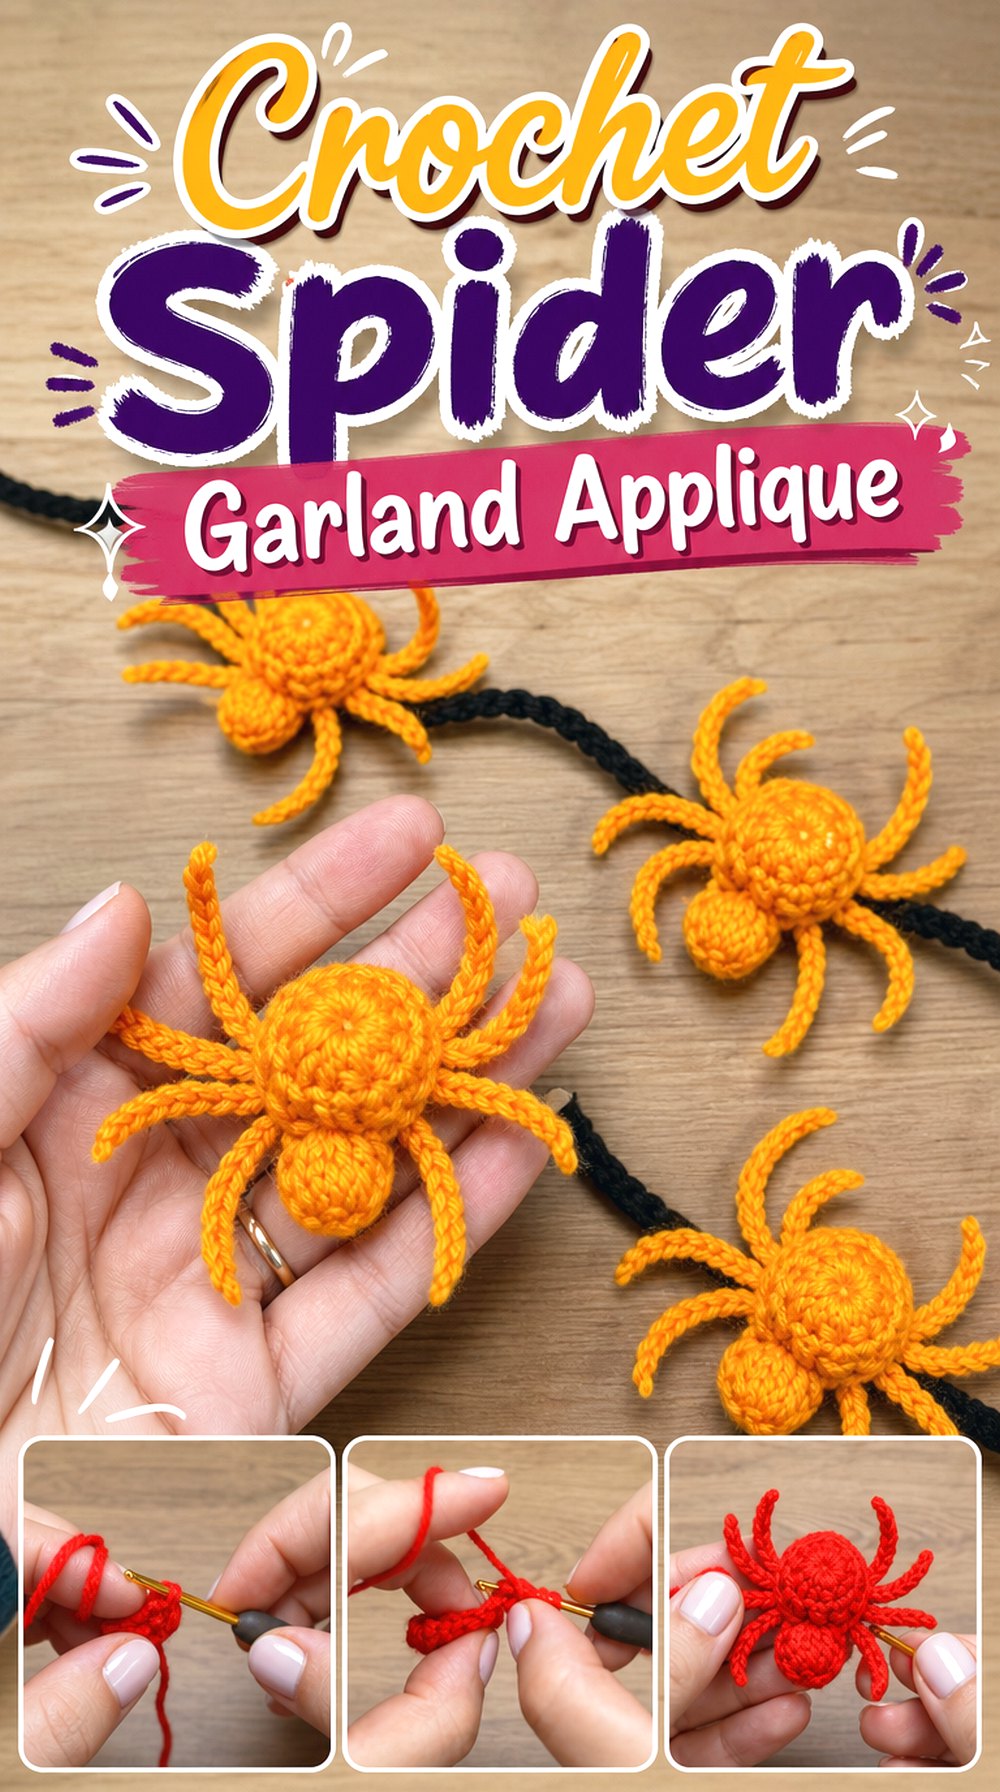
This spider works well for readers who want a flatter Halloween accent instead of a full plush toy. The creator notes that the finished spiders can be joined into a garland or sewn onto items such as bandanas, blankets, hats, bags, or doilies. That makes this idea different from the stuffed display spiders because placement is part of the project’s purpose. It can be made as one small accent or repeated for a more connected Halloween line.
Plan the Display Line
A garland-style spider needs spacing as much as shape. Before making several, readers should decide whether the spiders will hang close together, alternate with webs or pumpkins, or sit farther apart across a mantel. Repeating one small motif can look crowded if the line is too tight, so it helps to plan the display area before making a full set.
Check the Attachment Method
Because this spider can be used on other crochet or fabric pieces, attachment should be considered carefully. A spider sewn onto a bag or blanket will be handled differently from one hanging on a wall. Readers should review how the creator finishes the spider, then decide whether the final use needs a removable tie, a firm sewn edge, or a simple decorative placement.
Keep the Shape Consistent
Small flat spiders can show uneven shaping more quickly than larger plush pieces. When making several for garland use, readers may want to compare each finished spider with the first one before continuing. Consistent leg direction, body shape, and eye placement will help the set look intentional, especially if the spiders are displayed in a row.
Creator: Butterfly Craft
3 . Crochet Mini Spider Keychain
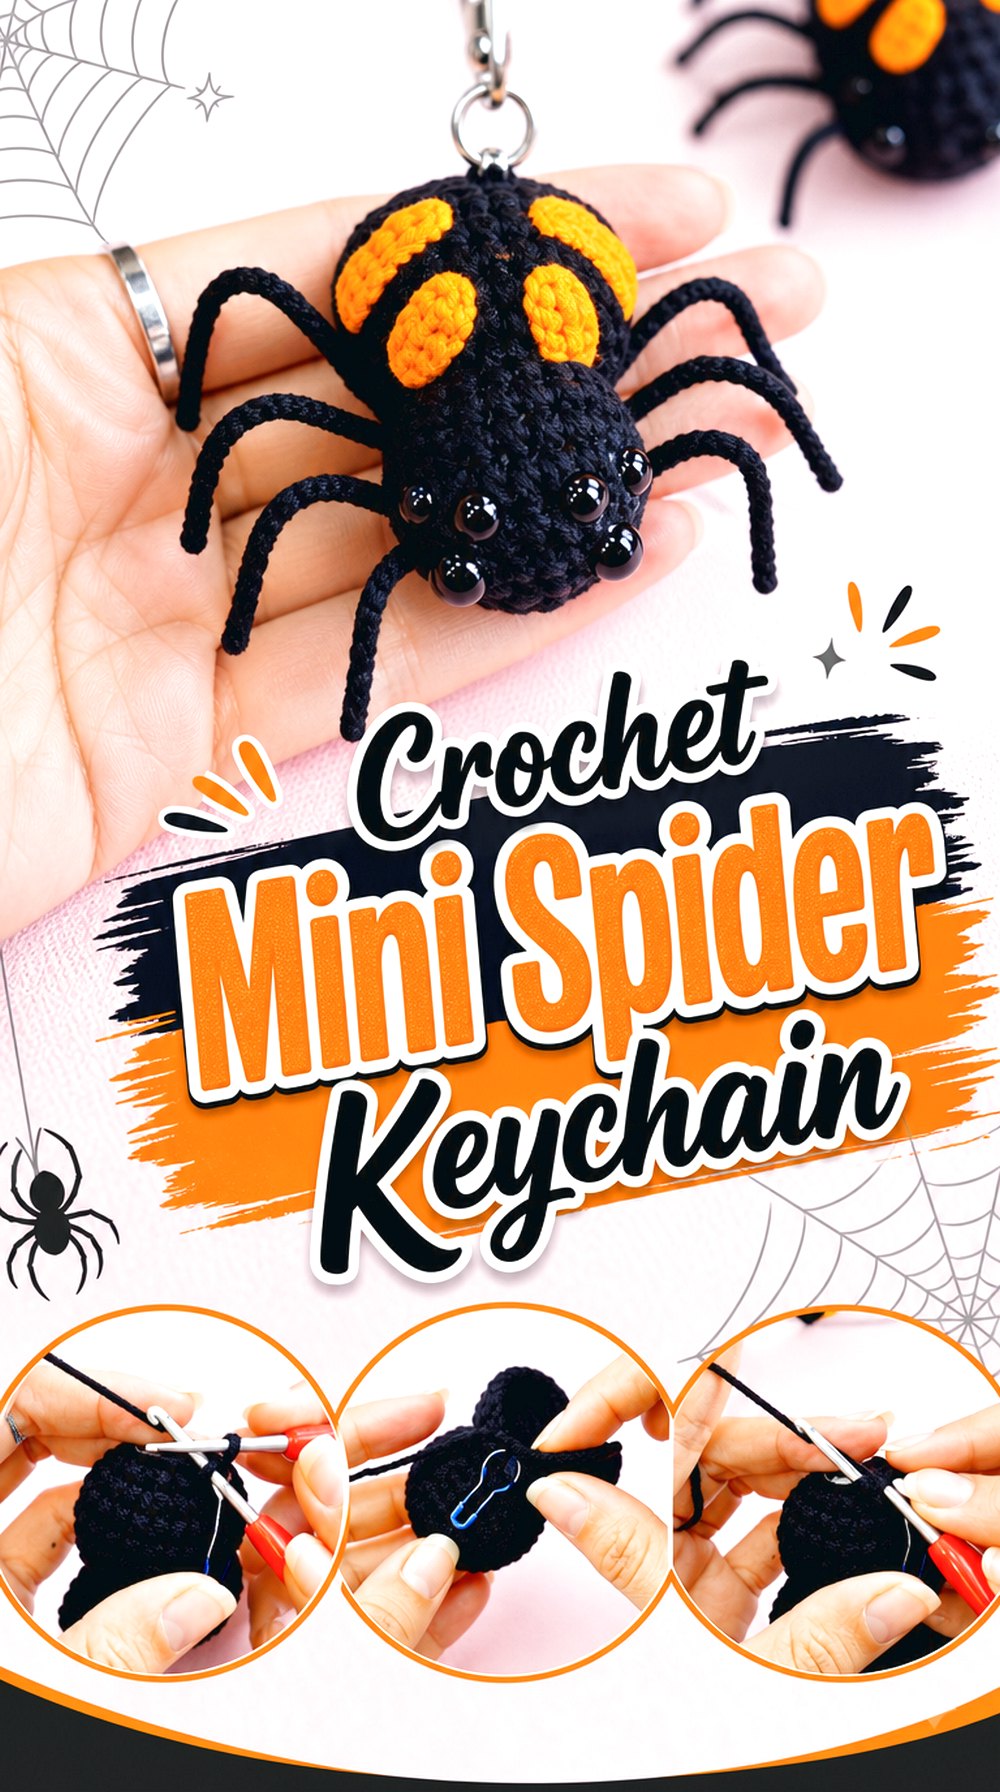
A mini spider keychain has a different job from a shelf plush or hanging ornament because it is meant to be carried. The scale is small, the shape is compact, and the project is presented as a no-sewing keychain-style Halloween spider. This option may suit readers who want a tiny seasonal accessory for a bag, zipper pull, party favor, or lightweight key ring decoration. The small size also makes the finishing details more noticeable.
Think About Daily Handling
A keychain spider may be touched, pulled, or bumped more often than a spider that stays on a shelf. Readers should think about where it will be used before choosing this project. A bag charm may need firmer finishing than a party favor that is mostly decorative. The original tutorial should be followed closely for the compact structure and final shape.
Check the Keychain Hardware
The hardware is part of the finished purpose, even when the crochet spider is the main feature. Viewers should confirm what kind of ring, clasp, loop, or connector is used or implied before starting. If hardware details are not fully shown, it is worth deciding how the spider will attach before finishing the top of the piece.
Confirm the Finished Scale
Small amigurumi changes size quickly when yarn weight or hook size changes. For a keychain, that matters because a slightly larger spider may feel bulky on keys, while a smaller one may lose detail. Readers should compare the creator’s sample with their intended use and avoid assuming every yarn substitution will still produce a practical keychain size.
Creator: Bunny Pink
4 . Crochet Long-Leg Spider Amigurumi
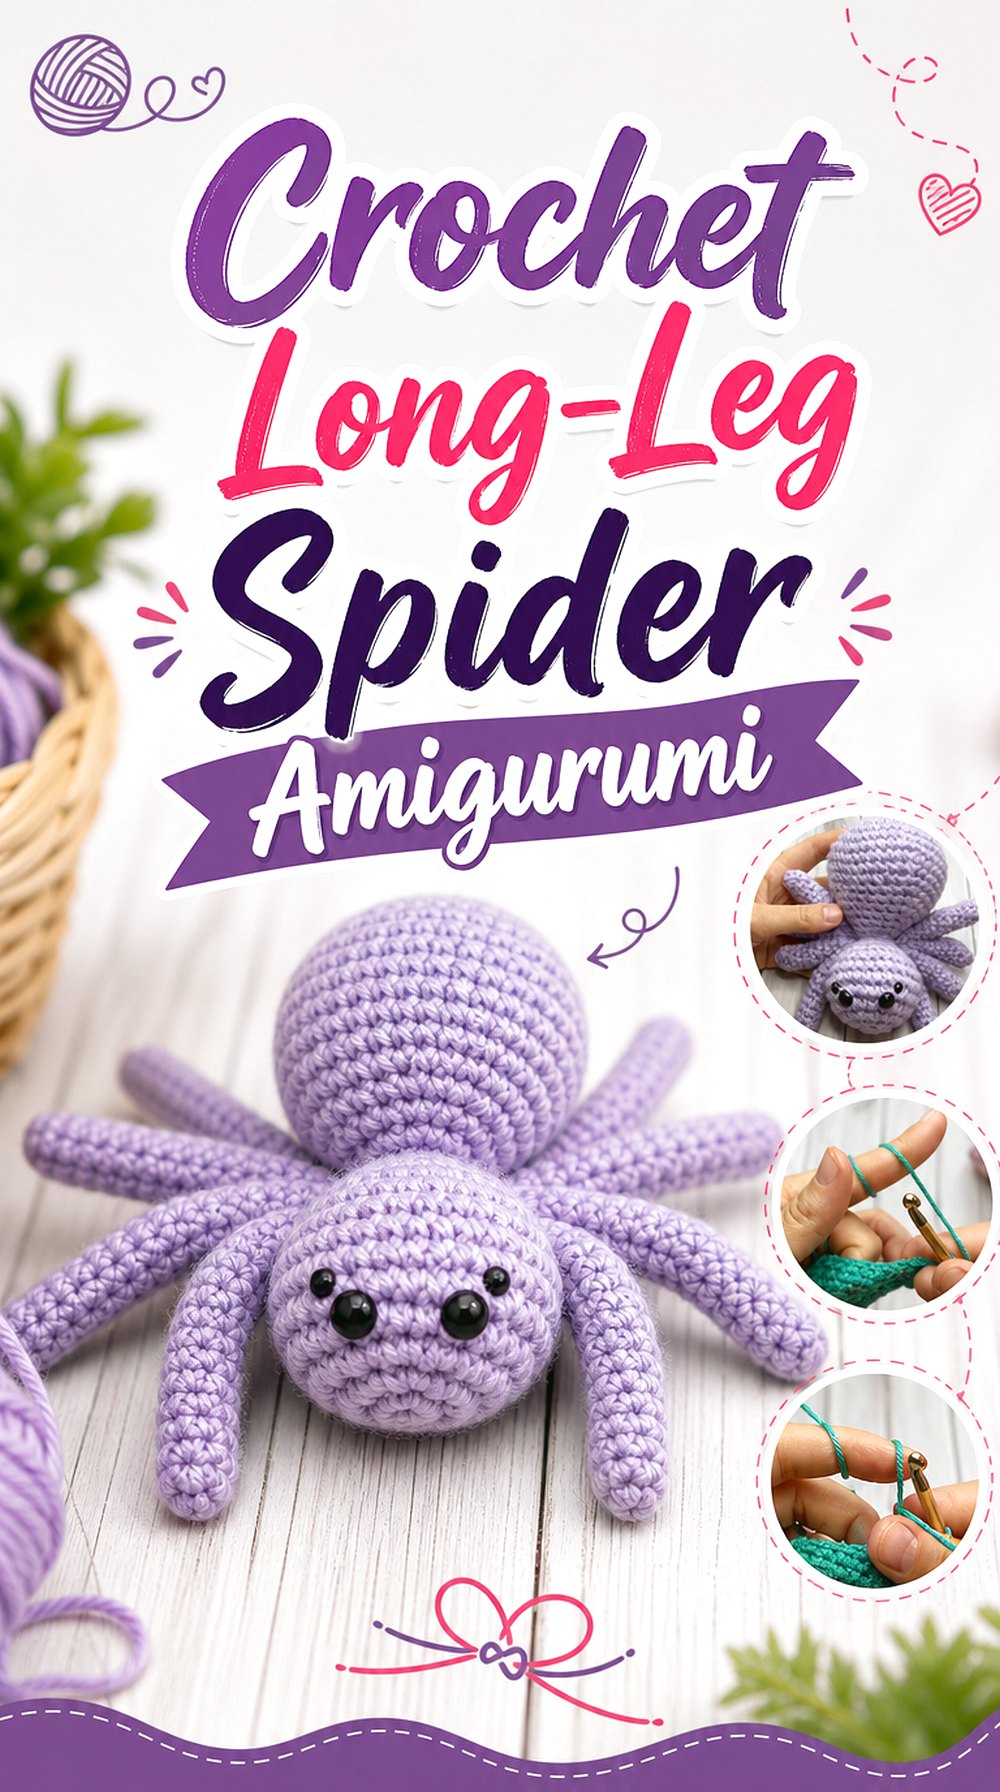
This spider has a more classic amigurumi structure, with a separate head, body, and visible leg sections. The longer leg shape gives it a stronger spider silhouette than very round no-sew styles. It may suit readers who want a stuffed spider that reads clearly from a distance, especially for a shelf, Halloween basket, or themed display. Because the legs are a major part of the look, assembly and balance are worth watching carefully.
Compare the Leg Lengths
The leg shape is a main feature of this spider, so the finished piece depends on keeping the parts visually balanced. Readers should compare the leg sets as they work and pay attention to which legs are shorter or longer. Even without changing the pattern, checking the pieces before attachment can help the final spider sit more evenly.
Watch the Assembly View
Separate pieces make the final joining stage especially important. The spider’s personality depends on where the head, body, and legs meet. Viewers should use the original tutorial for the exact attachment details instead of guessing from the finished photo alone. A careful pause during assembly can prevent the legs from crowding one side or pointing in unintended directions.
Decide on Display Space
Longer legs can make a spider take up more room than the body suggests. Before choosing this option, readers should think about whether it will sit on a narrow ledge, inside a basket, or on a wider tabletop. The body may be compact, but the full footprint includes the spread of the legs and the angle of the finished pose.
Creator: The Caffeinated Snail
5 . Crochet Jelly Bean Spider Plush
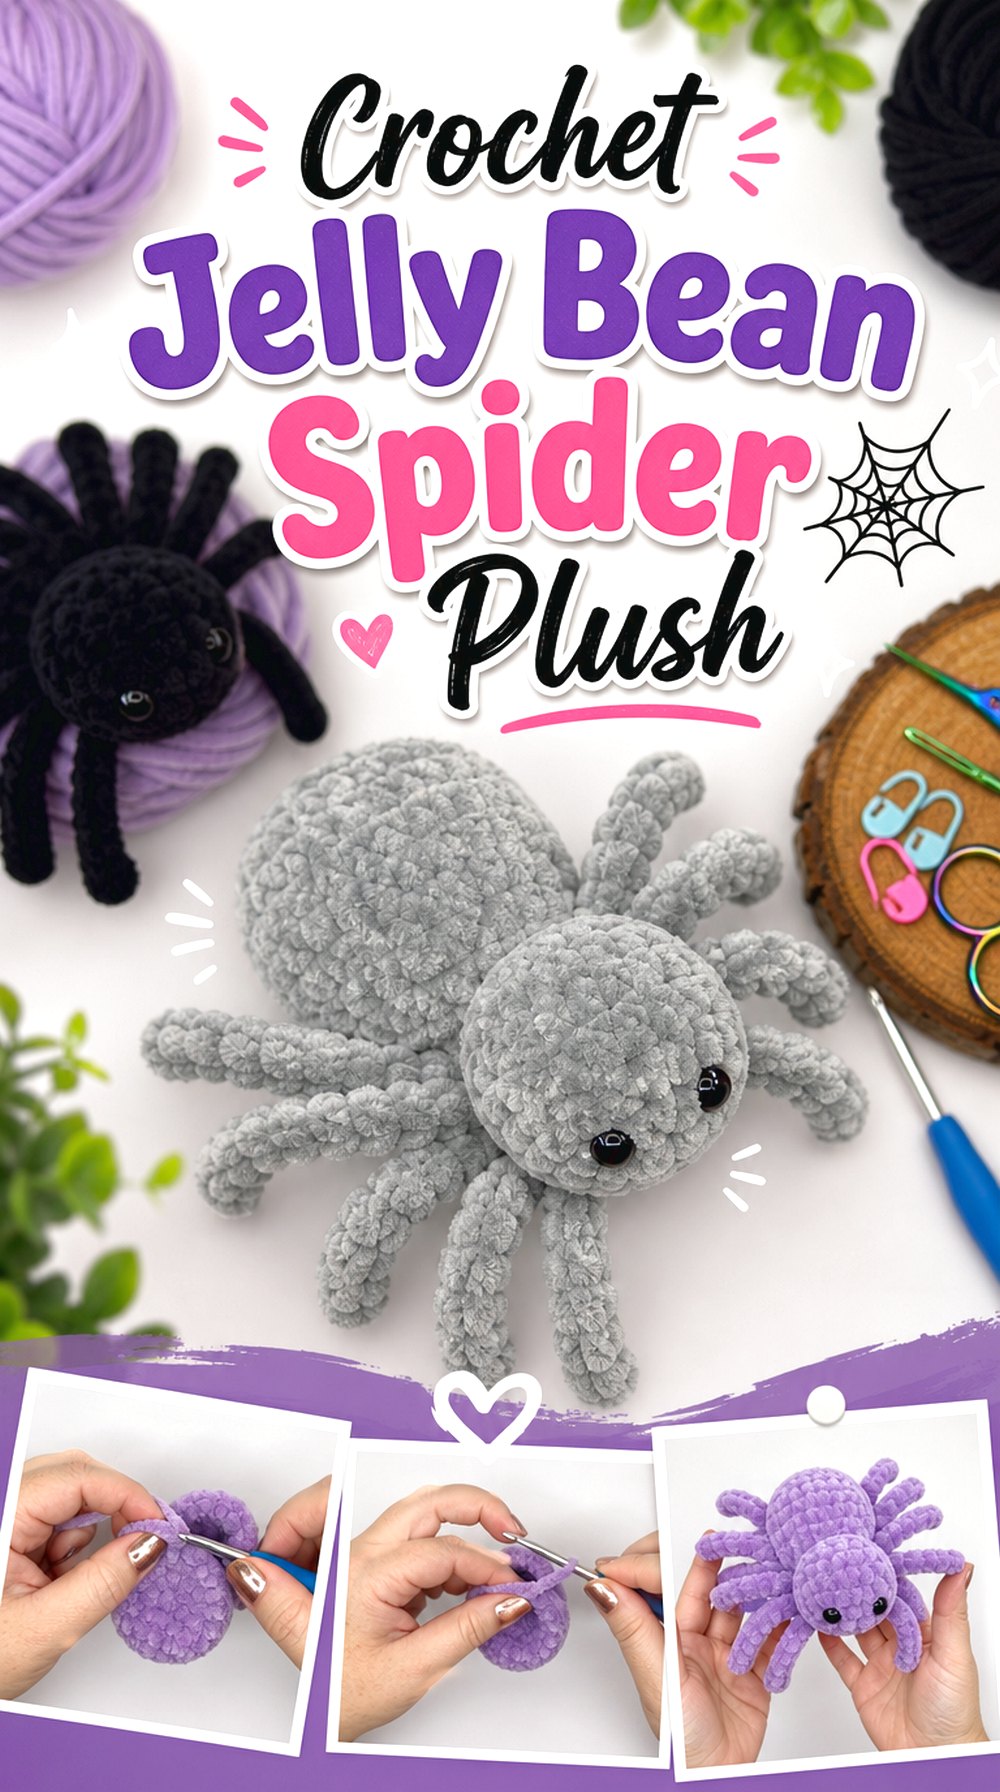
The jelly bean spider has a rounded, soft shape that feels more like a tiny plush than a realistic spider. Its compact body and no-sew approach make it different from the long-leg and tarantula-style projects. The creator presents it as part of a Jelly Bean series, and the tutorial covers the project from materials through finishing. This idea may suit readers who want a cute Halloween spider with a simple display shape and a friendly stuffed look.
Consider the Compact Bean Shape
A jelly bean shape is useful when the spider needs to look soft and approachable. It does not rely on a long body or wide leg span for its personality. Readers who want a cute spider for a small basket, shelf corner, or gift topper may prefer this form. The shape also makes color choice more visible because the body surface is a major part of the finished look.
Check the Eye Options
The source information mentions safety-eye options and embroidered-eye guidance, so readers should review that choice before starting. Eye style changes both the expression and the intended use of the finished spider. For items handled by young children, removable or hard components should be considered carefully, and the creator’s notes should be checked rather than assumed.
Confirm the Finished Size
The creator lists a finished size for the sample, which helps readers decide whether this spider fits their display plan. Size matters for gift toppers, craft-table stock, small shelves, and grouped Halloween arrangements. Anyone changing yarn or hook size should expect the result to change too, so the listed sample size should be treated as a guide, not a guarantee.
Creator: Darling Maple Designs
6 . Crochet Low-Sew Chunky Spider Plush
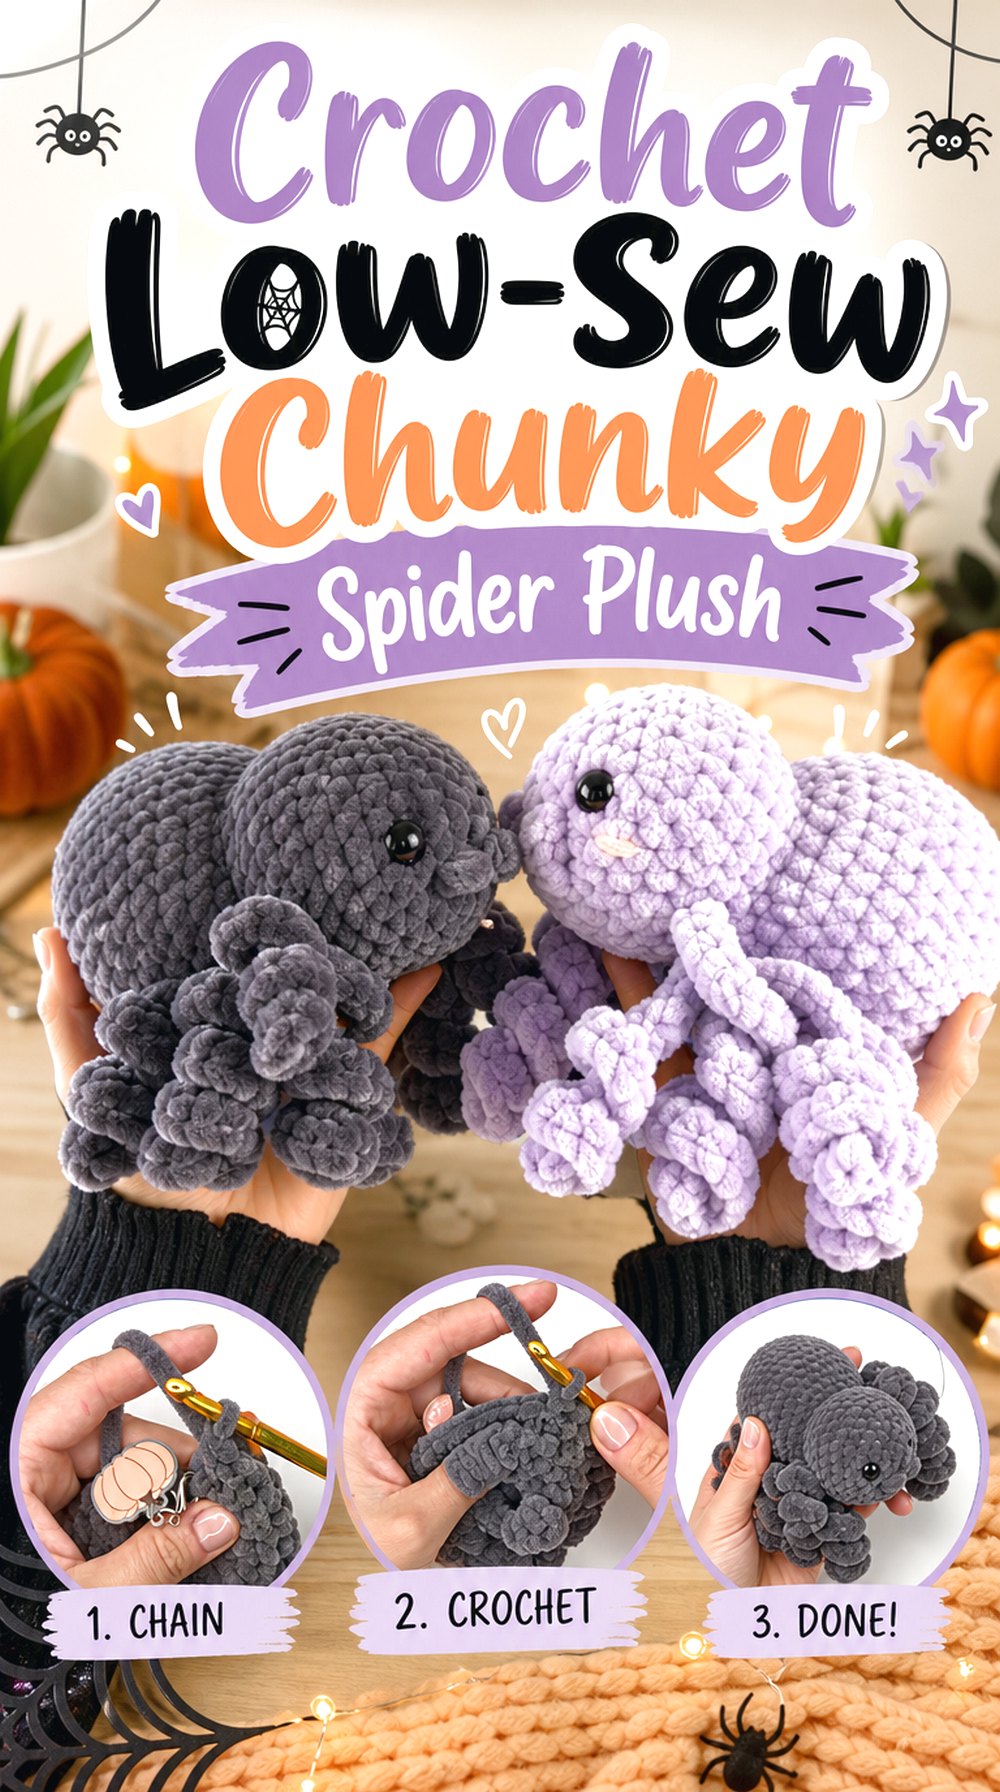
A chunky low-sew spider gives the collection a fuller plush option without moving into a realistic tarantula shape. The creator’s sample uses a larger plush style, and the tutorial is based on a spider pattern by Cassandra Babb. This idea may suit readers who want a soft Halloween piece with more body volume than the tiny ornaments and keychains. The low-sew structure still calls for attention during the shaping and finishing sections.
Think About Plush Size
Chunky yarn can turn a small amigurumi design into a more noticeable display piece. That can be useful for a couch corner, shelf, bed, or Halloween basket, but it also means the spider needs more room. Readers should look at the finished sample and decide whether they want a cuddly plush feel or a smaller decorative spider before buying supplies.
Check the Material List
The creator lists specific supplies for the sample, including plush yarn, a hook, stuffing, safety eyes, and finishing tools. Readers should review that list before starting because chunky amigurumi often depends on the relationship between yarn, hook, stuffing, and eye size. Changing one item can change the final density, scale, and expression of the spider.
Review the Low-Sew Sections
Low-sew does not mean no finishing choices. Viewers should still watch how the separate areas are handled, where any joining happens, and how the final spider is shaped. This is especially important with thicker yarn because seams and attachments can become more visible. Following the creator’s order will help the plush keep the intended rounded look.
Creator: crochet by Karine | Loop & Billie
7 . Crochet African Flower Halloween Spider
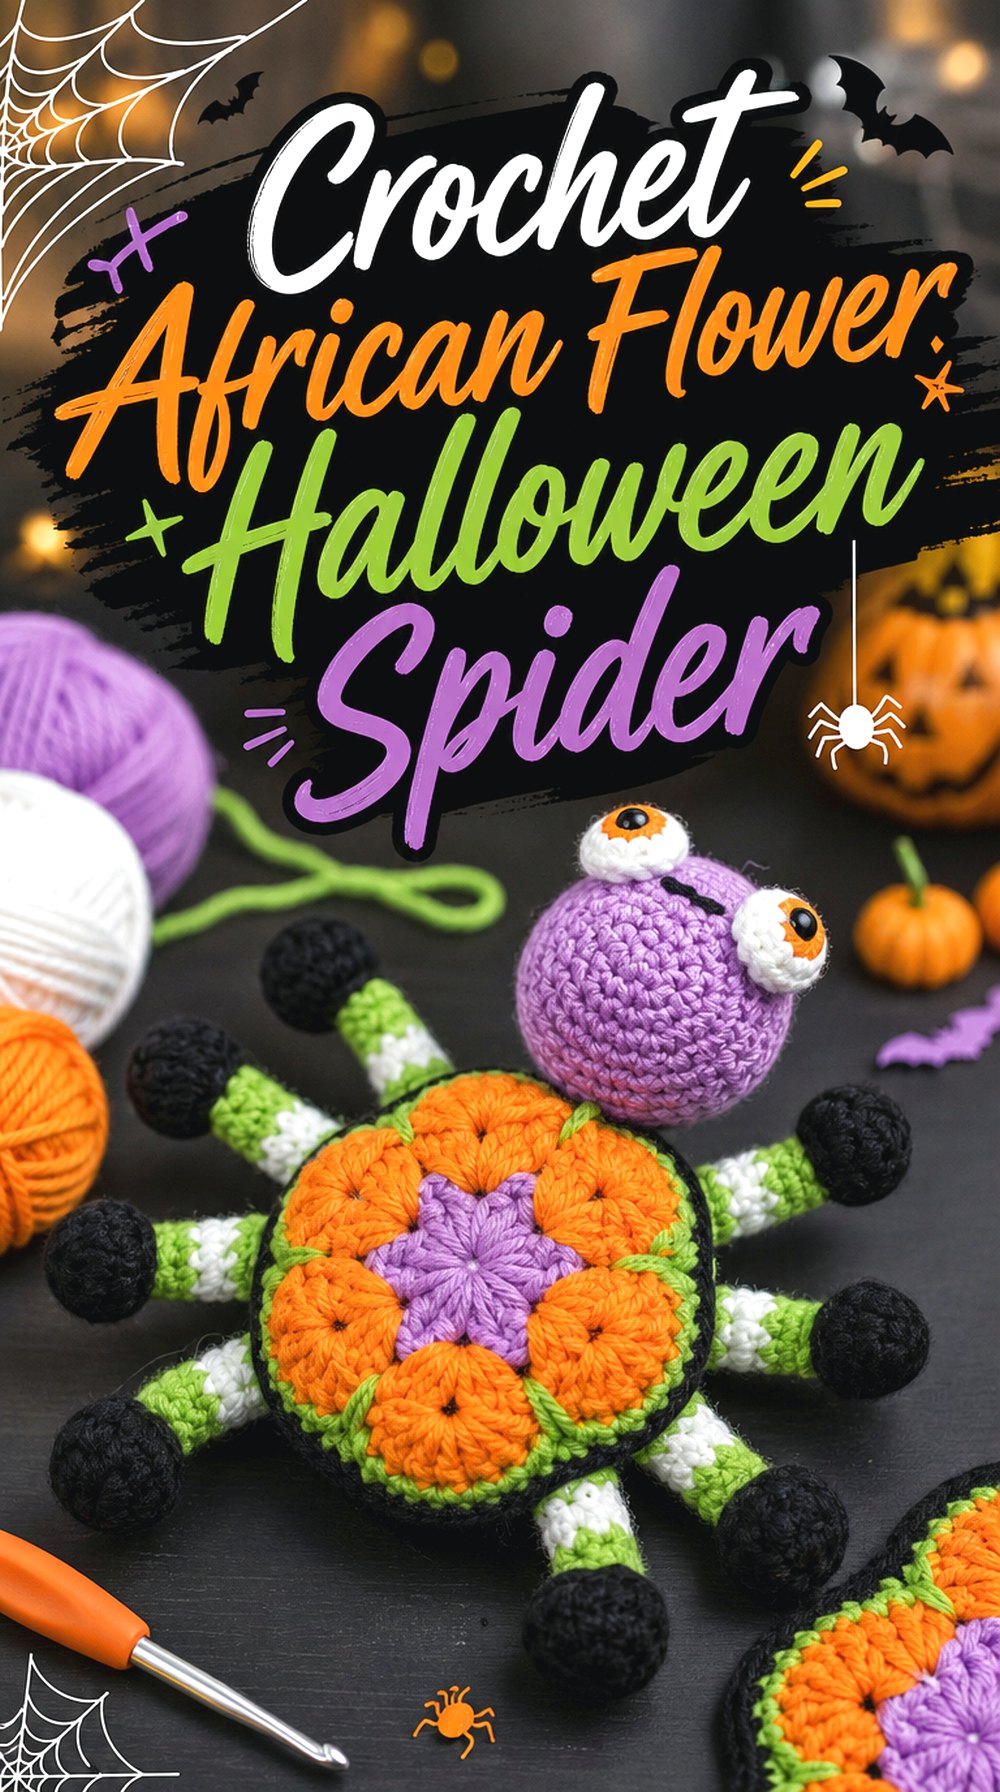
This Halloween spider stands out because the project uses an African flower idea within an amigurumi spider design. That gives the back more surface detail than a plain round body. It is a good option for readers who want the spider to feel decorative from above, not only cute from the face. The motif-style detail also makes color planning more important, especially if the spider will sit where the top can be seen clearly.
Keep the Flower Motif Centered
The flower detail is the main visual feature, so the finished spider benefits from careful orientation. Readers should check how the motif sits on the body and how it lines up with the legs and face. If the spider will be displayed from above, a centered motif can make the whole project look more deliberate and balanced.
Plan the Color Contrast
Motif-based spiders need color decisions that support the surface design. Very close colors may soften the flower detail, while stronger contrast can make the back more visible. Readers should look at the creator’s sample and choose colors based on where the spider will be placed. A dark shelf, pale table, or colorful Halloween display can all affect how the motif reads.
Review the Joining Stage
A decorative spider with a motif element has more to manage than a simple ball-shaped body. Viewers should pay attention to how the parts come together and how the spider’s final shape is finished. The original tutorial should be used for the exact joining details, since guessing placement could shift the flower detail or change the leg balance.
Creator: DBHandmades
8 . Crochet Tarantula Amigurumi Decoration
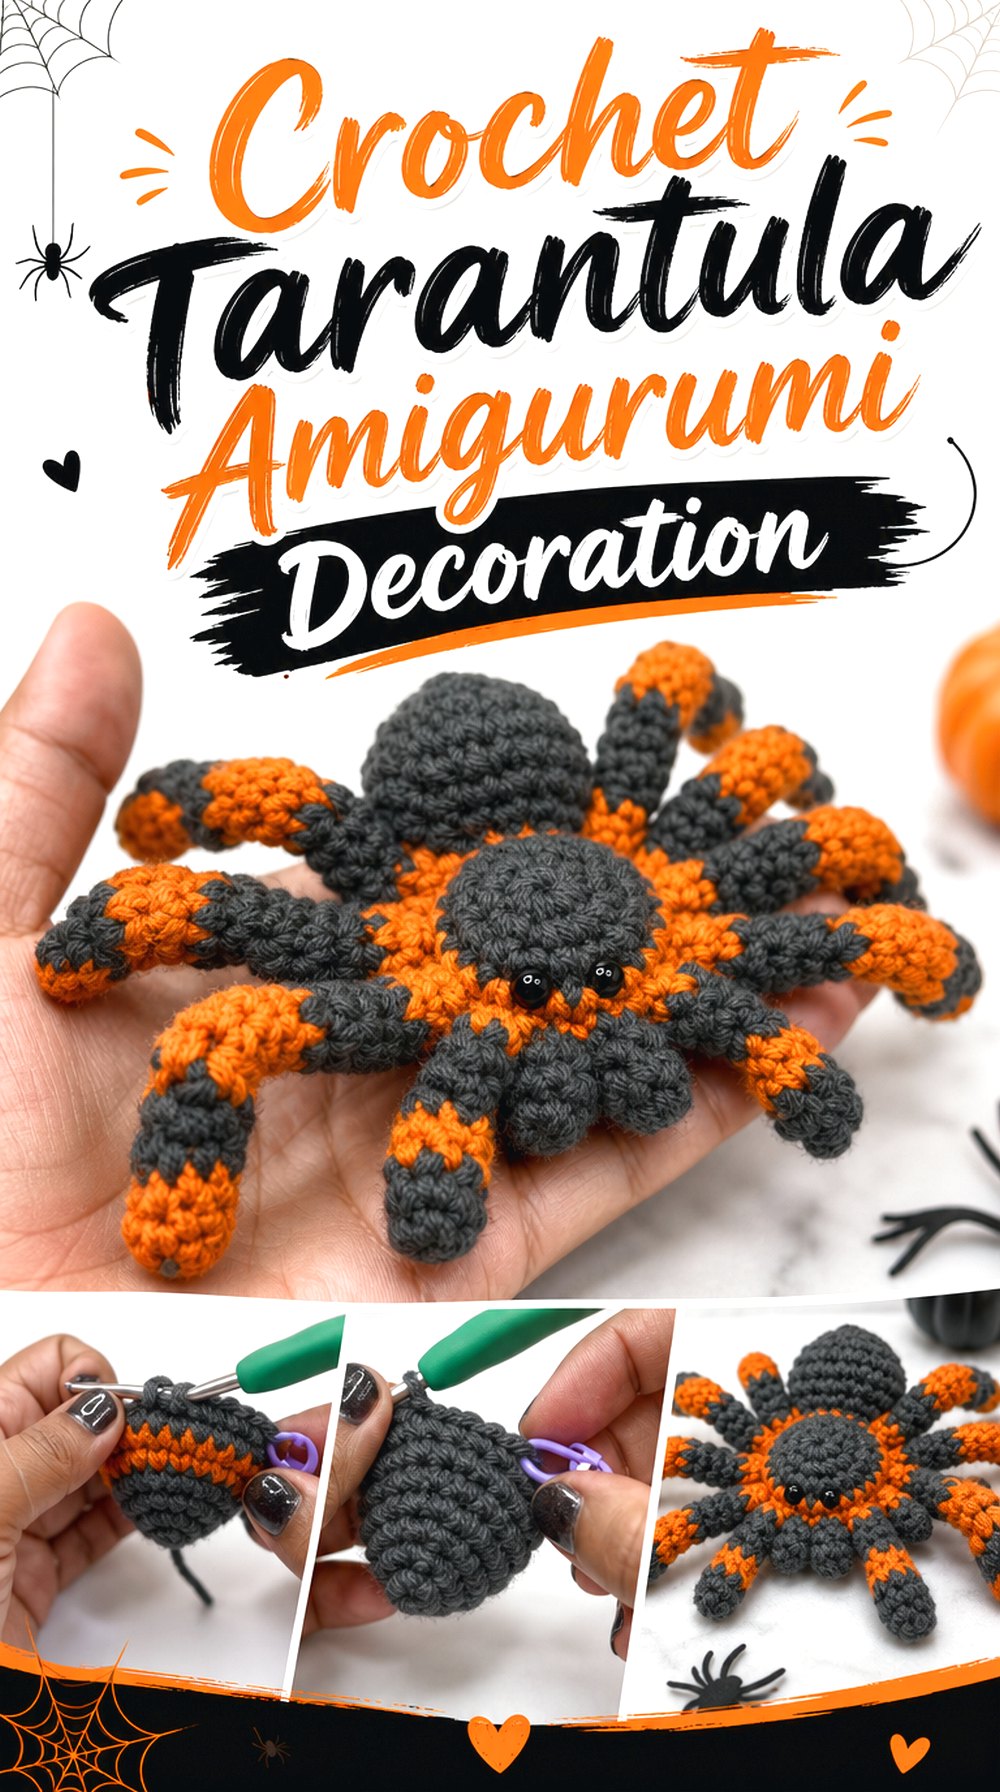
A tarantula-style crochet spider gives the list a wider, more dramatic shape. The creator’s tutorial presents a two-colored tarantula for Halloween decoration and includes finished-size information for the sample. This project is different from the tiny ornaments because the width and leg spread are part of its impact. It may suit readers who want a spider that can sit boldly on a mantel, display tray, or Halloween centerpiece.
Consider the Wide Tarantula Shape
A tarantula does not read the same way as a small round spider. The wider body and leg spread create a stronger Halloween display piece, so placement should be planned before starting. Readers should think about whether they want the spider to sit alone, crawl across a web display, or fill space beside pumpkins and other seasonal amigurumi.
Check Whether Pipe Cleaners Are Used
The source notes pipe cleaners as optional, which is worth reviewing before supplies are gathered. Added support can affect how the legs hold their shape, but it also changes the materials and finishing decisions. Readers should follow the creator’s guidance and consider the final use, especially if the spider will be handled or stored between seasons.
Confirm Space for Display
The creator provides sample finished dimensions, and those measurements matter for a tarantula-style project. A wide spider may not fit on a narrow shelf even if the body itself looks manageable. Readers should compare the finished width with the intended display area and leave room around the legs so the shape does not look cramped.
Creator: Crafty Crochet Castle
9 . Crochet Spider With Web Detail
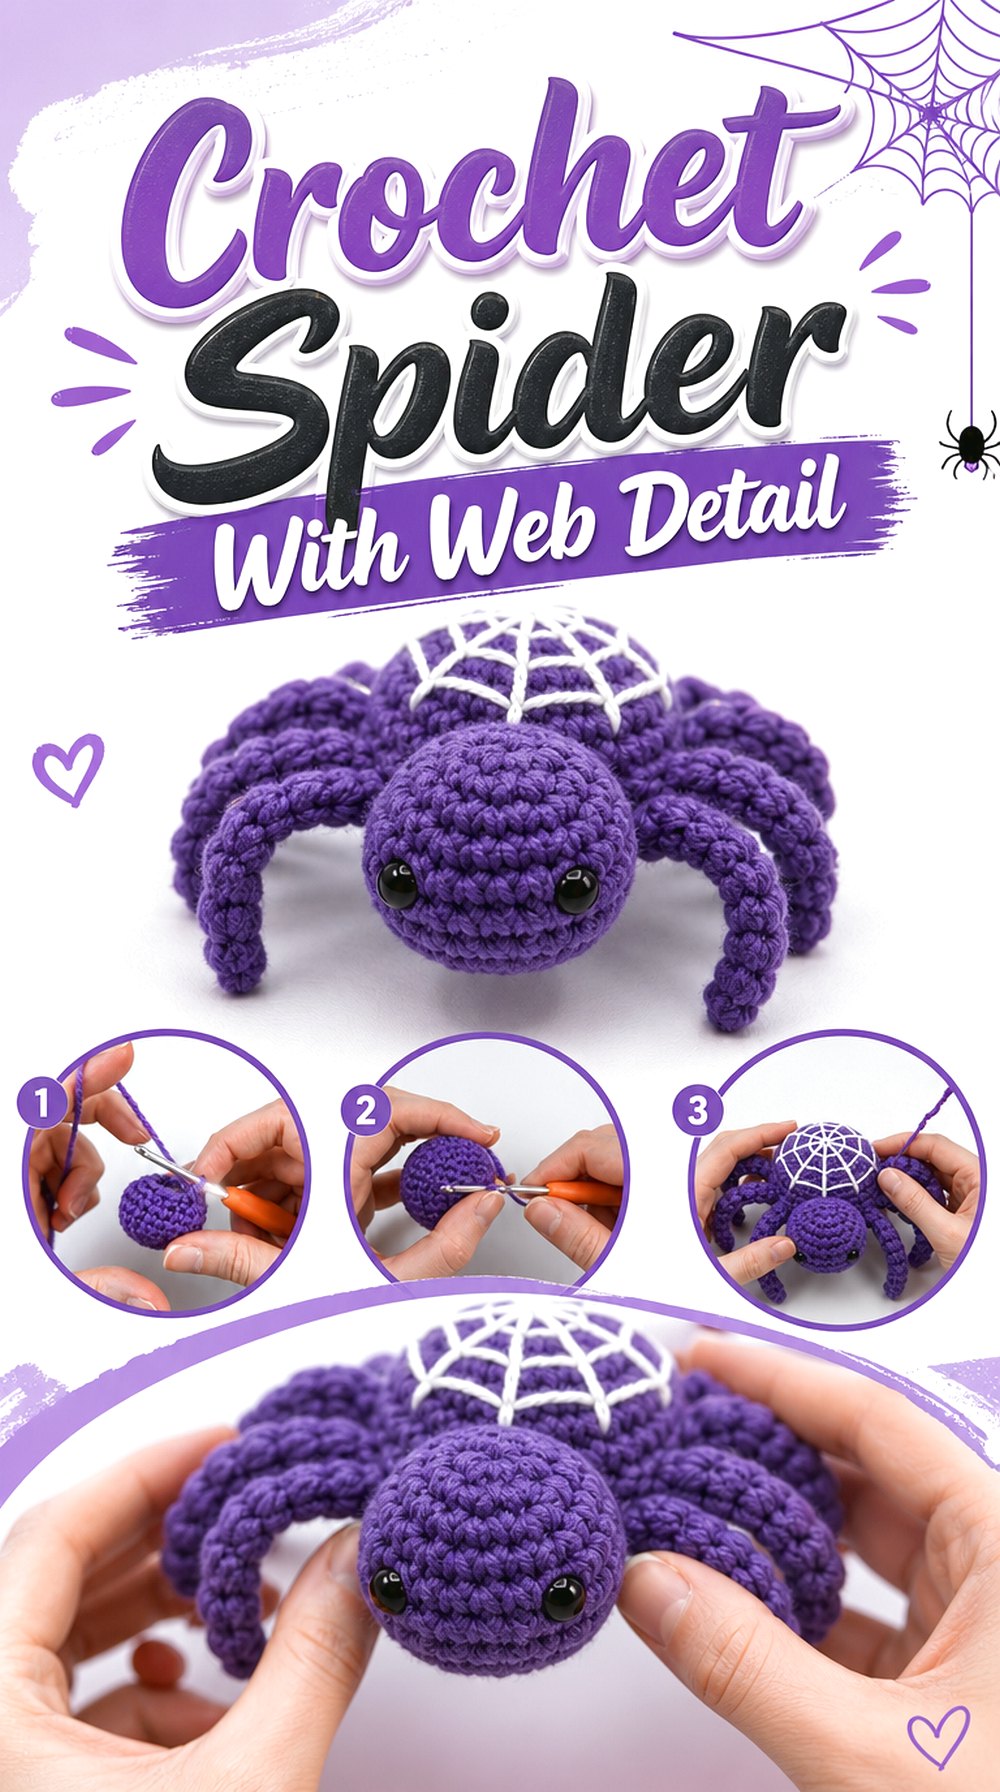
This spider is useful for readers who want a decorative back instead of a plain body. The tutorial includes a section for a spider web on the back, which makes the finished piece stand apart from the rounded plush and keychain versions. It can work well where the top of the spider remains visible, such as a tabletop display, Halloween tray, or low shelf. The added surface detail makes finishing order and neat placement more important.
Keep the Back Detail Visible
A web detail only matters if the spider is displayed where people can see it. Readers should avoid placing this project too high or too deep inside a crowded arrangement. A shallow tray, mantel edge, or tabletop scene may show the back more clearly. The display angle should support the detail that makes this project different from the others.
Review the Finishing Order
The web detail appears as its own part of the tutorial, so viewers should pay attention to when it is added. Surface details can be harder to adjust after the body is fully finished. Watching the full guide first can help readers understand where the back decoration belongs and how it relates to the body, eyes, and legs.
Check Personal Use Terms
This creator includes usage terms in the source description, so readers should review them before using the project beyond personal making. That matters for anyone planning gifts, market items, reposted content, or teaching materials. The safest approach is to follow the creator’s stated terms and ask directly when a use is not clearly covered.
Creator: Laura Wilson Designs
10 . Crochet Tiny Pipe-Cleaner Spider
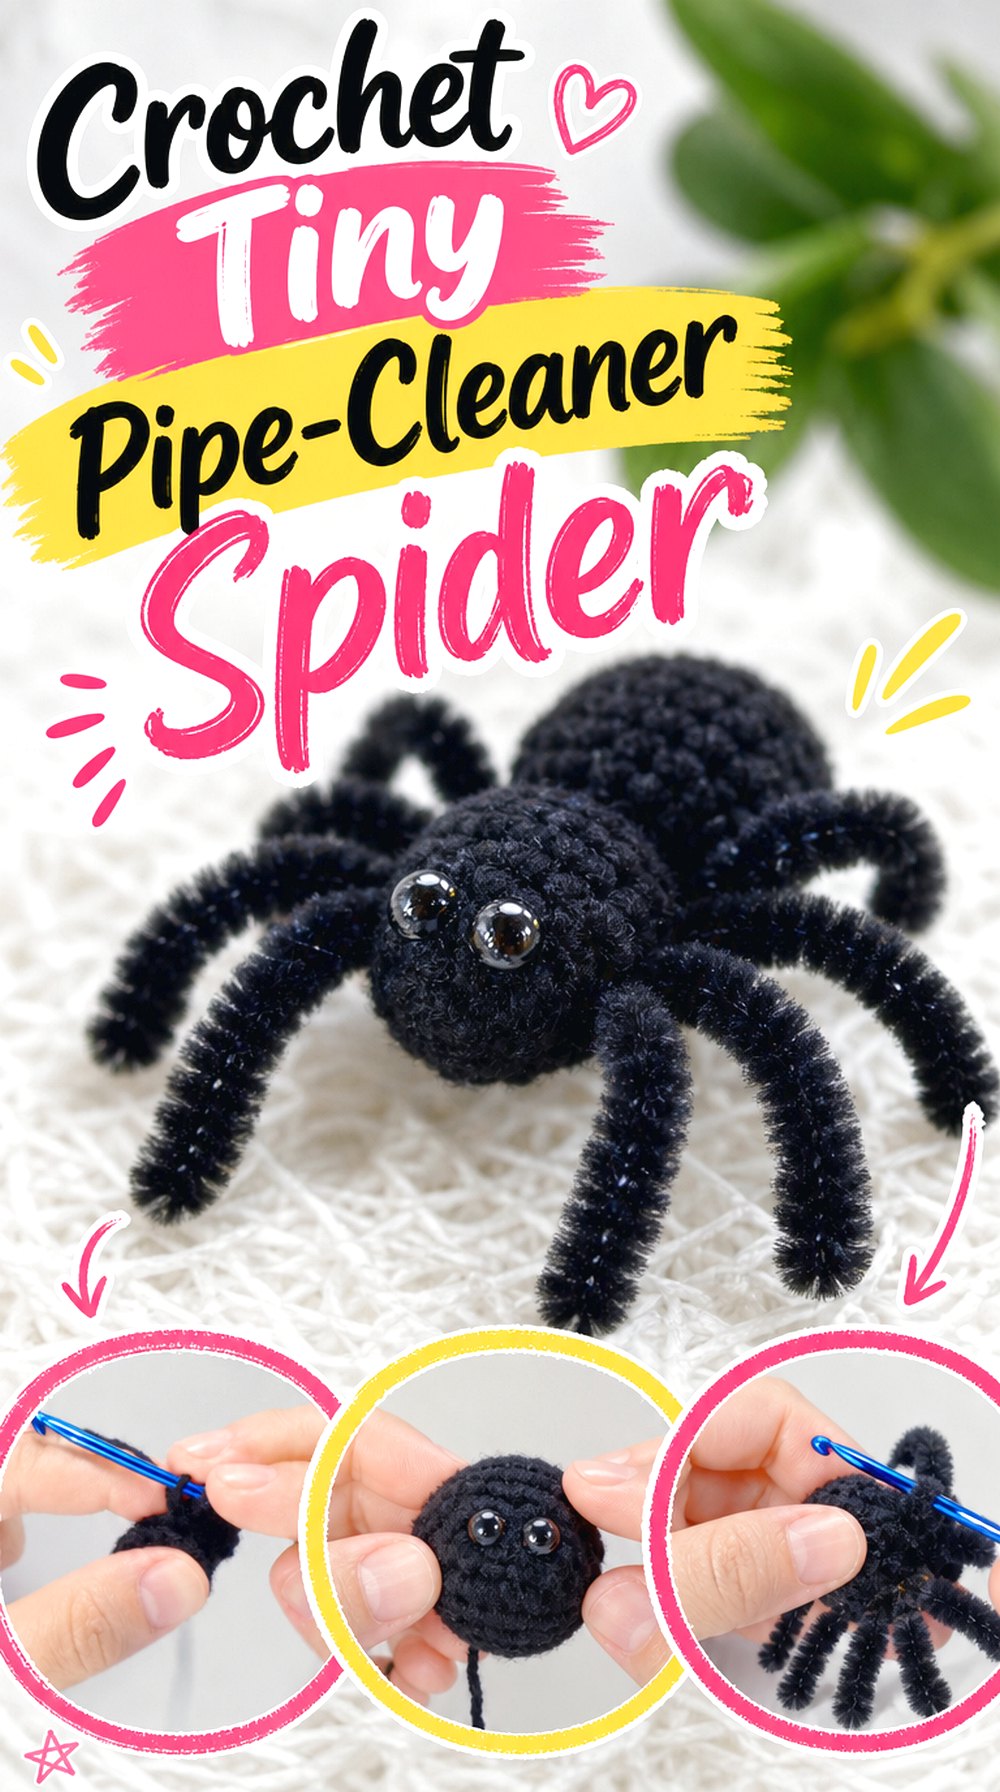
A tiny pipe-cleaner spider gives the list a miniature Halloween option with a different leg style. The creator’s information lists a very small finished size and includes pipe cleaners among the materials, so this project is better viewed as a tiny decorative spider than a soft plush toy. It may suit readers who want small table accents, a web display detail, or a lightweight seasonal piece that can be grouped with other mini crochet decorations.
Consider Tiny Display Use
A very small spider can disappear in a large display, so placement matters. Readers may want to use this project in groups, near a web, beside a small pumpkin, or on a light background where the shape remains visible. Tiny crochet pieces often work best when the surrounding decor does not compete with the legs, eyes, and body.
Check the Extra Components
This project uses more than yarn alone, including pipe cleaners and small eye components listed by the creator. Those details should be gathered and reviewed before beginning. Extra components can affect the finished look, the handling feel, and the way the spider is stored. Readers should avoid assuming the project can be treated like a fully stuffed soft toy.
Decide How to Use the Legs
Pipe-cleaner legs can give a tiny spider a sharper silhouette than crocheted-only legs, but they also need thoughtful use. Readers should consider whether the spider will sit flat, cling to a display web, or rest among other Halloween pieces. The original tutorial should be followed for the leg style, and the finished item should be handled according to its materials.
Creator: DIY-100 Ideas
Conclusion
These crochet spider amigurumi ideas give readers several ways to approach the same Halloween theme. Choose the hanging ornament for vertical decor, the garland spider for repeated accents, the keychain for a tiny carried piece, or the jelly bean and chunky plush styles for softer displays. The African flower, web-detail, tarantula, long-leg, and pipe-cleaner spiders each add a stronger visual feature. Use the original tutorials for exact counts, shaping, joining, and finishing details.
FAQs
How do I choose the right crochet spider amigurumi tutorial?
Start with where the finished spider will go. A keychain or hanging ornament needs a compact shape, while a tarantula or chunky plush needs more display space. If the spider will be viewed from above, consider a project with a decorative back, motif, or wide leg shape.
Can crochet spider amigurumi be used as children’s toys?
Do not assume every spider amigurumi is suitable for children. Some tutorials use safety eyes, beads, pipe cleaners, or other small or firm components. Check the creator’s notes, consider embroidered features when appropriate, and review age suitability before gifting any crochet spider to a child.
What should I check before changing the yarn?
Changing yarn can change the size, firmness, and look of the spider. A tiny keychain may become too bulky, while a plush spider may lose its intended shape with a much thinner yarn. Check the creator’s material list and finished sample information before making substitutions.
How can I display crochet spider amigurumi for Halloween?
Match the spider style to the display. Hanging spiders can go on hooks or branches, garland spiders can repeat across a mantel, and wider tarantula styles can sit on trays or shelves. Keep enough space around the legs so the spider shape stays easy to recognize.
Can I sell finished crochet spiders made from YouTube tutorials?
Do not assume selling is allowed just because a tutorial is public. Check each creator’s written terms in the description, linked pattern page, or shop information. Some creators allow finished-item sales with credit, while others limit use. When terms are unclear, ask the creator before selling.